

An effective trade show booth graphic must get one visitor action done: a scan, a conversation, a booked meeting. The clearest way to design for that is a three-layer signage hierarchy: a distance promise readable from the aisle, a proof layer that backs the claim, and an action cue that tells visitors exactly what to do next. We put this guide together based on frontline installation work and current industry research.
TL;DR:
- Write an outcome headline readable from 15 to 30 feet, keep proof beneath it, and separate the scan, demo, or pricing cue.
- Keep the booth’s front third clear, angle the demo 15 to 30 degrees toward the busiest aisle, and station a greeter at the entrance.
- Set headline letters about one inch tall per 10 feet of viewing distance, limit headlines to seven words, and keep proof lines under eight.
- Choose SEG fabric for repeat shows because it ships lighter and supports reusable skins; confirm flame rating, since venues may require certification.
- Finalize artwork two to three weeks before freight pickup, and earlier for hanging signs because rigging approval takes longer.
Table of Contents
- Build a Messaging Hierarchy That Reads From the Aisle
- Lay Out the Booth So Demos Sell Themselves
- Choose Colors and Type That Hold Up Under Hall Lighting
- Pick Imagery That Reads at Full Scale, Not Just on Screen
- Match Materials to How Often You’ll Reuse the Booth
- Map Signage to the Hierarchy and Light It to Work
- Prep Files So Production Doesn’t Stall at the Printer
- Design for Reuse So One Build Serves Several Shows
- How We Approach Trade Show Graphics at NJ Vinyl Wrapz
- Why Outcome-First Graphics Beat Spectacle on the Show Floor
- How NJ Vinyl Wrapz Supports Your Next Trade Show Build
- FAQ
- Sources
Build a Messaging Hierarchy That Reads From the Aisle
A headline that only makes sense up close rarely attracts visitors deciding whether to walk over. The fix is to translate your show goal into a short, distance-readable promise, then support it with a subhead that proves it, following the same three-layer hierarchy ExhibitionsVoice recommends for sign design: distance promise, proof layer, action cue.
Start by writing your headline for someone 15 to 30 feet away, which is the range top-performing booths design their outcome statement to be read from. Aim for a concise headline, built around the outcome you deliver, not your logo.
- Rewrite “Welcome to [Company]” as “Cut Fleet Downtime by Half” or a comparable outcome statement.
- Put the logo at eye level on a side panel, not centered above the headline.
- Use the subhead for proof: a stat, a client type, or a one-line mechanism.
- Keep the action cue (scan code, visit demo, ask for pricing) visually separate from the headline.
Placement matters as much as wording. Headlines belong on the upper third of the backwall where sight lines stay clear overcrowds, logos sit at a secondary position, and proof copy runs no higher than a seated eye line so it reads as a follow-up, not competition for attention.
Lay Out the Booth So Demos Sell Themselves
Layout decides whether your graphics ever get seen. The single most consistent pattern across strong-performing booths is an open front third: nothing blocking the aisle-facing lip, so passersby can see straight into the demo zone without committing to step inside.
For small inline booths, that means pushing tables and kiosks to the back half. For larger inline or island footprints, it means angling the demo station so it’s visible from major aisles, not tucked against a side wall.
- Confirm the front third is empty of furniture, signage stands, or storage.
- Angle the demo screen or table 15 to 30 degrees toward the heaviest traffic aisle.
- Position a greeter at the lip, a qualifier near the demo, and the demo operator one step inside.
- Walk the aisle yourself during setup to check sight lines at normal standing height.
- Confirm staff know their role before doors open, not during the first rush.
This greeter-qualifier-demo structure is one of the repeatable patterns behind better-converting booths, and it works independent of budget: a small footprint with a clear lip and visible demo regularly outperforms a larger booth with a cluttered front.
Pro Tip: Run a quick four-question check before the show opens: is the front third clear, is your outcome statement readable at 15 to 30 feet, is there visible motion in the demo zone, and is the lip continuously staffed?
Low plinths work well for small product demos that need to stay visible overcrowd height. Angled screens suit booths where the demo requires a seated interaction. Dedicated demo islands make sense once you have enough floor space to keep that zone separate from meeting or storage areas.
Choose Colors and Type That Hold Up Under Hall Lighting
Trade show halls wash out weak contrast fast. Dark text on a light background, or the reverse, reads cleanest under fluorescent and LED rigging; avoid mid-tone combinations or text laid over a busy photo background.
- Keep headline-to-background contrast high and test it printed, not just on screen.
- Choose a bold sans-serif for distance headlines; reserve a lighter weight for body copy.
- Scale headline cap height to roughly one inch per ten feet of viewing distance.
- Keep subhead lines short, generally under eight words, to avoid forcing small type.
- Use one accent color sparingly, on the action cue only, so it doesn’t compete with the headline.
A stroke or subtle drop shadow can rescue legibility when a background texture is unavoidable, but it’s a fix for a problem, not a design choice to plan around.
Pick Imagery That Reads at Full Scale, Not Just on Screen
One hero image per elevation keeps a backwall from turning into a collage nobody processes. Crop tight on a single focal point and leave the area around your headline clean so text and image don’t fight for the same sight line.
- Source images at a minimum of 150 to 300 DPI at full print size, not thumbnail resolution scaled up.
- Request print files large enough that a 10-foot panel doesn’t need to stretch a web-sized photo.
- Print a letter-size crop of your hero image at 100% scale and view it from across a room before sending final files.
- Use icons or product shots as compact proof elements near the subhead rather than as a second hero image.
Match Materials to How Often You’ll Reuse the Booth
Fabric SEG (silicone edge graphic) panels are lightweight, wrinkle-resistant, and simple to swap, which makes them the practical choice for exhibitors doing multiple shows a year. PVC and foam core panels print sharp and cost less upfront but ship heavier and don’t hold up to repeated travel. Adhesive vinyl handles floor graphics well but needs a venue-approved, non-marking adhesive, and rigid panels suit one-off builds or permanent fixtures.
- SEG fabric: lightest to ship, reusable, low glare, higher upfront cost per panel.
- PVC/foam core: sharp print quality, lower cost, heavier to ship, more prone to damage in transit.
- Adhesive floor vinyl: durable underfoot, requires venue-approved adhesive, higher glare under hall lighting.
- Rigid panels: best for permanent or single-show builds, least practical for repeat use.
Ask any supplier about flame-rating certification before committing to a material, since many venues require it for hanging signage and large backwalls. For most 10x10 and 10x20 booths doing three or more shows a year, SEG fabric pays for itself in reduced shipping weight and reprint avoidance.
Map Signage to the Hierarchy and Light It to Work
Each layer of the distance promise, proof layer, action cue hierarchy maps to a different sign type. Hanging signs carry the distance promise since they’re visible across the hall floor. Backwalls carry the proof layer. Small demo labels and counter signage carry the action cue.
| Sign type | Hierarchy role | Typical planning range |
|---|---|---|
| Retractable banner | Secondary proof or action cue | Lower end of signage budget |
| Fabric SEG backwall | Distance promise and proof layer | Mid-range, reusable across shows |
| Rigid panel | Proof layer, single-show use | Mid-range, non-reusable |
| Hanging sign | Distance promise | Higher end, requires rigging approval |
| Floor graphic | Wayfinding, action cue | Mid-range, venue adhesive rules apply |
| Digital signage | Motion signal, proof layer | Higher end, rental or owned |
These typical ranges and watch-outs come from current sign-planning guidance and vary by hall and vendor, so treat them as a starting point for your own quote comparisons.
- Light backwalls evenly with front-facing LED strips to avoid shadow bands across the headline.
- Keep demo loop videos to 60 to 90 seconds, angled toward the aisle as a motion signal.
- Confirm hanging sign rigging approval with the venue well ahead of move-in.
- Check that any added lighting rig meets the hall’s electrical and fire code requirements.
Practitioner guidance on demo loops confirms that short, angled, motion-based content consistently outperforms longer or inward-facing video in pulling attention from the aisle.
Prep Files So Production Doesn’t Stall at the Printer
A clean file saves a rush fee. Printers need bleed, a defined safe area, the correct color profile, and vector logos, not flattened screenshots pulled from a slide deck.
- Supply bleed of at least half an inch and keep critical text inside the safe area.
- Convert files to CMYK with the printer’s specified ICC profile, not RGB screen color.
- Send logos and icons as vector files (AI, EPS, or high-res PDF), never as raster exports.
- Hit the DPI target the printer specifies for your substrate and panel size.
- Finalize art two to three weeks before freight pickup for standard signage, and earlier for hanging signs, which require longer rigging and approval lead times.
- Confirm mounting hardware, labor, and venue rules with your installer before freight ships.
Decide installation responsibility early: some venues require union labor for hanging signs and electrical hookups, while backwalls and floor graphics are often handled by your print vendor’s own install crew.
Design for Reuse So One Build Serves Several Shows
Evergreen hardware, a frame or structure that stays constant, paired with interchangeable graphic skins, cuts both cost and waste over a show calendar. Sustainability guidance from IAEE points to SEG fabric skins as a practical way to reduce shipping weight alongside single-use waste.
- Keep show dates and city names off high-investment panels; put them on a cheap insert instead.
- Store SEG skins rolled, not folded, to avoid crease lines that show under lighting.
- Build a swap kit: two or three alternate headline panels for different show audiences.
- Budget a low-cost refresh, a new subhead panel or banner insert, rather than a full rebuild between shows.
How We Approach Trade Show Graphics at NJ Vinyl Wrapz
Trade show and event graphics are part of what we build day to day, alongside the wall, floor, and window graphics that often end up inside the same booth package. We run every project through a climate-controlled installation facility using 3M and Avery materials, the same substrates we rely on for large-format fleet and commercial work.
- Fabric SEG backwalls, rigid panels, floor graphics, and wall murals sized to your booth footprint.
- Vector-ready file review before anything goes to print, so proofs match what ships.
- Installation support scheduled around your freight and move-in windows.
Before hiring any supplier, ask what material they print on, whether skins are reusable, and who handles install day. We built our process around those same questions.
Why Outcome-First Graphics Beat Spectacle on the Show Floor

Spectacle gets a glance. A graphic built around one measurable visitor action gets a scan, a conversation, or a signature. The four patterns that consistently separate strong booths from the rest are an open front lip, an outcome-first headline, a demo visible from the aisle, and staff who know whether they’re greeting, qualifying, or demoing.
None of that depends on budget. Pick the single action you want a visitor to take, then build every panel, light, and staff position to support it rather than to impress.
— NJ Vinyl Wrapz
How NJ Vinyl Wrapz Supports Your Next Trade Show Build
We print and install trade show and event graphics using premium materials and a climate-controlled process similar to what is applied to fleet and commercial projects, drawing on extensive industry experience.
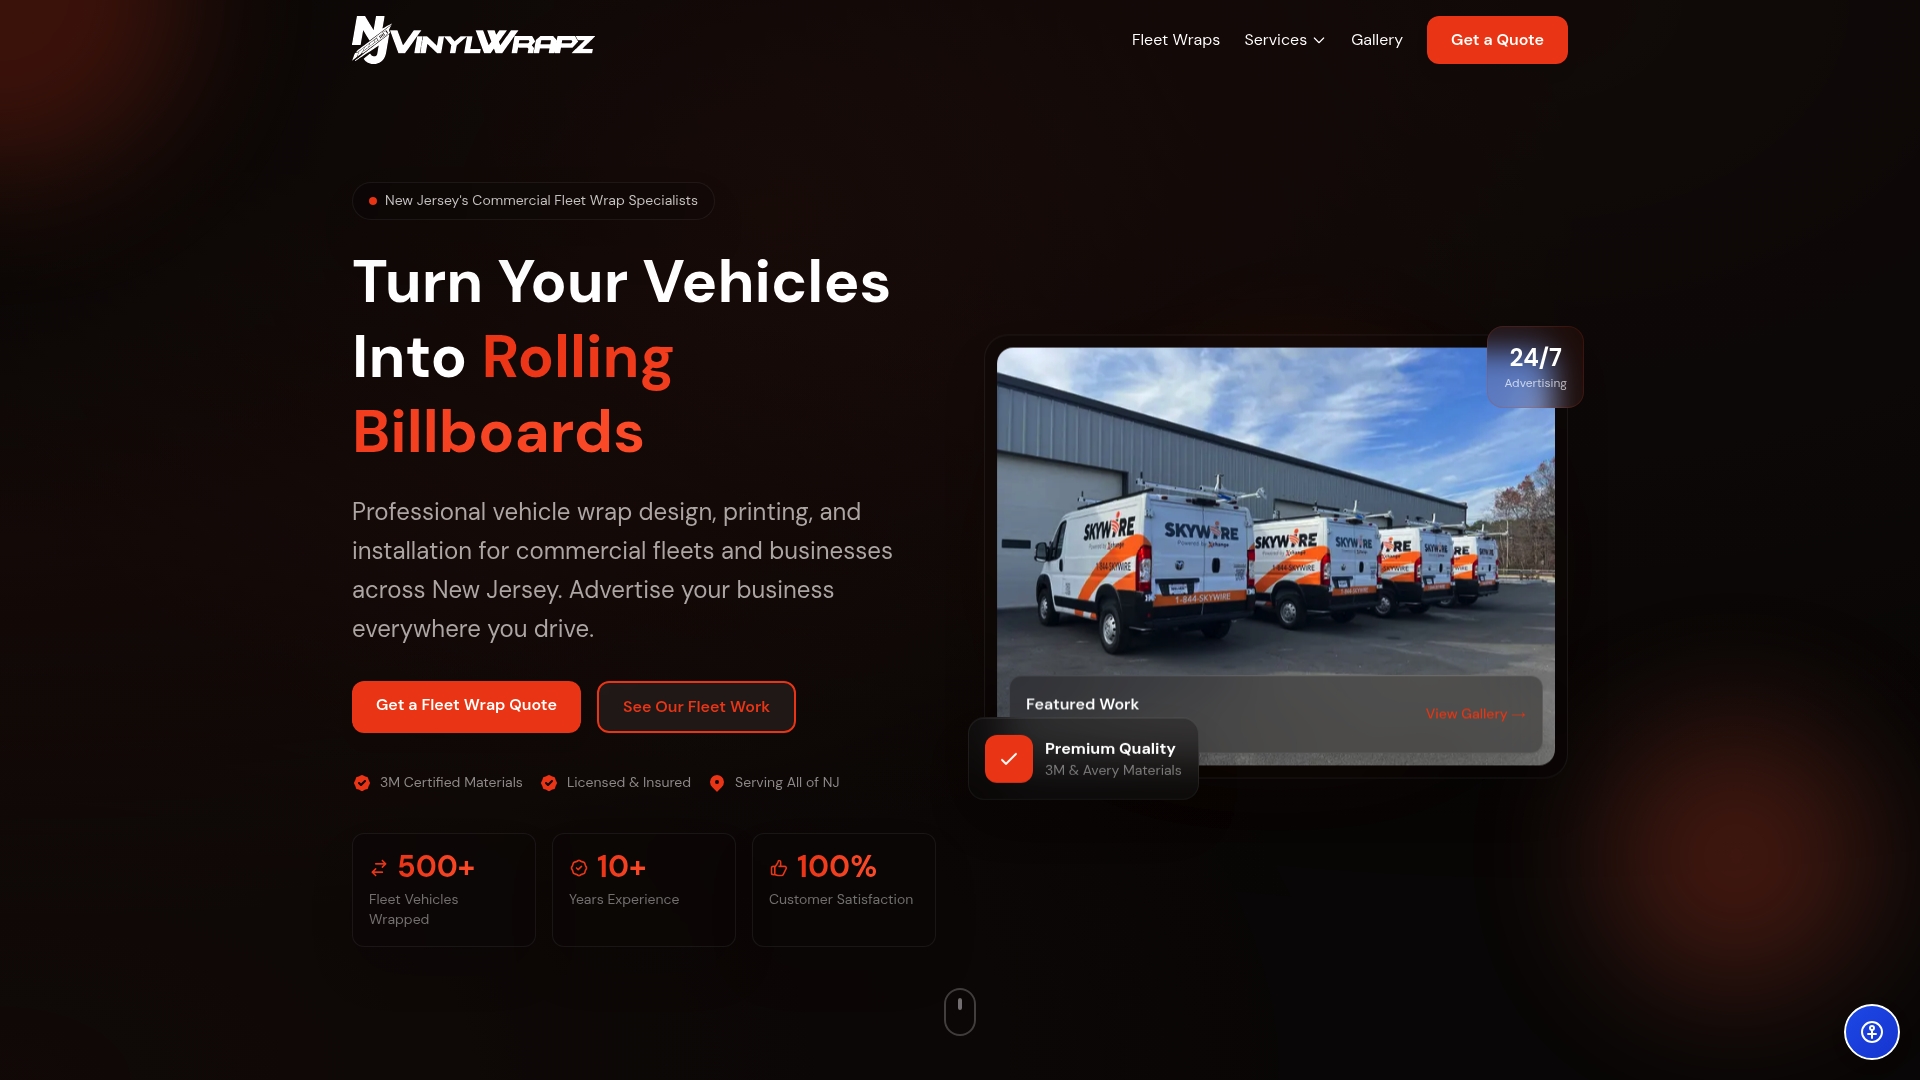
- SEG fabric, rigid panel, and floor graphic production sized to your booth.
- In-house design review to catch file issues before they become reprint delays.
- Installation support coordinated around your freight and show dates.
Exhibitors choose us for materials that hold up, a team that handles production end to end, and a process built to avoid last-minute surprises. Get a quote through our commercial and event graphics page before your next show deadline.
FAQ
What size should trade show booth graphics headlines be?
Scale cap height to roughly one inch for every ten feet of intended viewing distance, so a headline meant to read from 20 feet needs letters around two inches tall. Keep the headline to seven words or fewer and reserve smaller type for the proof layer underneath it.
What material is best for a reusable trade show backwall?
Fabric SEG panels are the most practical choice for exhibitors doing multiple shows a year because they ship lighter, resist wrinkling, and swap out easily between events, as sustainability guidance from IAEE notes. Rigid panels print sharp but suit single-show or permanent builds better than repeat travel.
How far in advance should I finalize booth graphic files?
Finalize artwork two to three weeks before freight pickup for standard signage like backwalls and banners, and earlier for hanging signs that need rigging approval, following standard production lead times used across the sign industry. Building in that buffer avoids rush fees and last-minute reprints.
How do I lay out a small 10x10 booth for better visibility?
Keep the front third of the booth completely clear of furniture or signage stands so your demo stays visible from the aisle, which is the layout pattern behind strong-performing small booths. Angle your demo station toward the busiest aisle and station a greeter right at the open lip.
Does NJ Vinyl Wrapz handle trade show graphic installation?
Yes, we produce and install trade show and event graphics, including fabric backwalls, floor graphics, and wall murals, using premium materials in a climate-controlled facility. Pricing is provided on request through our commercial services page once we know your booth size and materials.