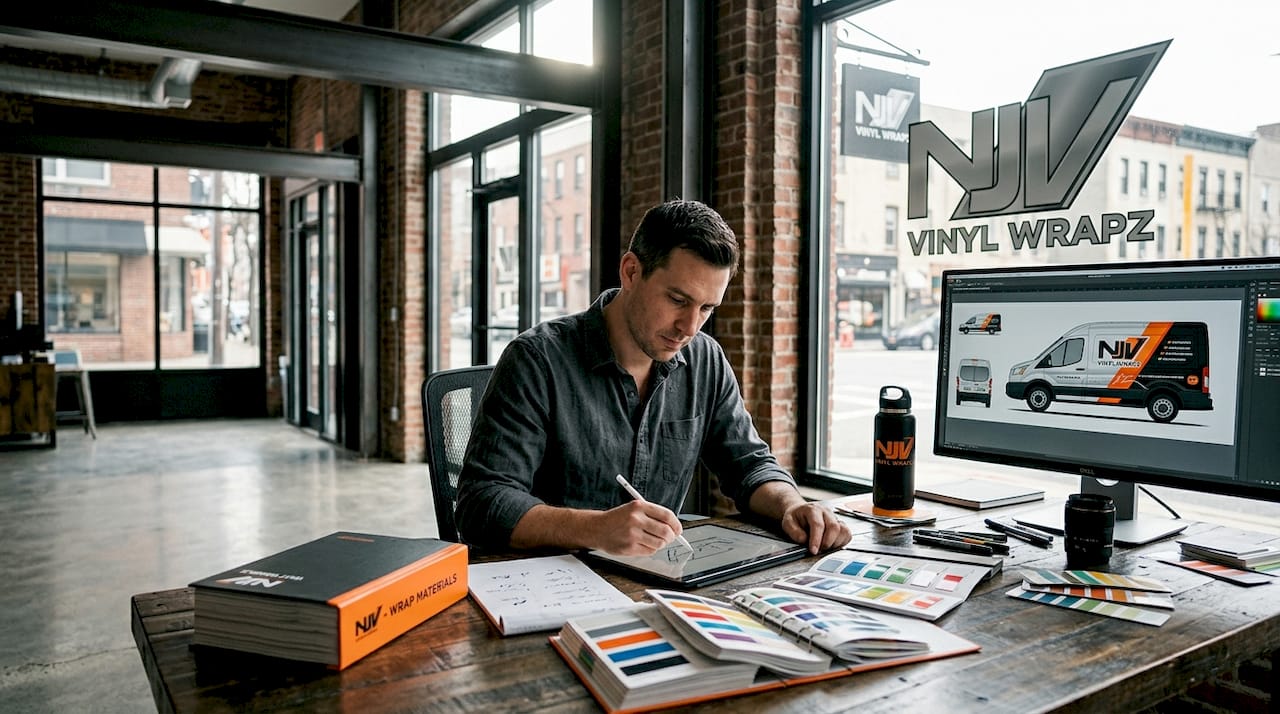
Every fleet manager in New Jersey knows the frustration: a row of plain white vans sitting in the parking lot, each one a missed opportunity to reach thousands of potential customers every single day. Your vehicles are already on the road, racking up miles across Bergen County, down the Turnpike, through Camden, and across every corner of the state. The question is whether they are working as hard as your team is. A well-planned, professionally executed commercial wrap turns those moving vehicles into a consistent, powerful branding tool. This guide walks you through every step of the process, from setting goals to verifying the final installation.
Table of Contents
- Determine your branding goals and requirements
- Prepare your vehicles and gather design assets
- Collaborate on the wrap design and review proofs
- Schedule installation and verify finished wrap quality
- Why strategic wrap design is the best ROI for NJ fleets
- Upgrade your fleet branding with NJ Vinyl Wrapz
- Frequently asked questions
Key Takeaways
| Point | Details |
|---|---|
| Clear branding goals | Define precise branding objectives and target audience to maximize wrap impact. |
| Quality prep and assets | Proper vehicle preparation and high-resolution design files guarantee wrap longevity and quality. |
| Collaborative design | Work closely with expert designers and review proofs to ensure your branding stands out. |
| Professional installation | Scheduling skilled installers and verifying wrap quality results in lasting, professional fleet branding. |
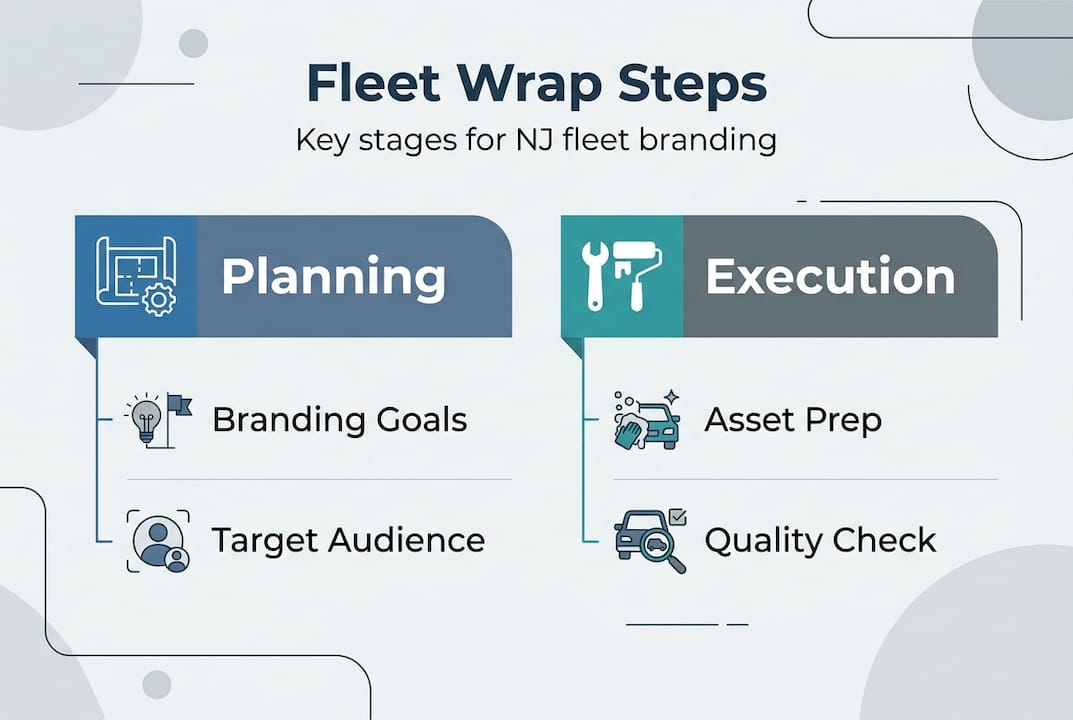
Determine your branding goals and requirements
Now that you understand the value of strong vehicle branding, let’s set smart goals for your wraps before a single design file is opened.
The most common mistake fleet managers make is jumping straight into colors and logos without first asking the fundamental question: what do you want your wrapped vehicles to accomplish? Your answer shapes every decision that follows. A plumbing company targeting residential homeowners in suburban Morris County needs a very different message than a B2B logistics firm serving industrial clients in Elizabeth. Clarity here is not optional. It is the foundation.
Start by defining your primary business objective. Common objectives for commercial wraps include:
- Brand visibility: Getting your company name and logo in front of as many eyes as possible
- Lead generation: Displaying a phone number or website prominently to drive direct inquiries
- Service awareness: Educating the public on what you offer, especially useful for newer businesses
- Geographic dominance: Reinforcing presence in a specific service area or neighborhood
- Professionalism and trust: Using consistent branding to signal credibility to potential clients
Once you know your objective, identify your target audience. Their age, lifestyle, and where they spend their time should influence your font choices, color palette, and the amount of information you put on the vehicle. Fleet managers can maximize impact by aligning wrap design with target audience and business goals. A bold, minimalist design with a single phone number might outperform a detail-packed layout if your buyers make quick decisions based on first impressions.
Next, decide on the type of coverage your fleet needs. Here is a quick comparison to help you choose:
| Wrap type | Coverage level | Best for | Relative cost |
|---|---|---|---|
| Full wrap | 100% of vehicle surface | Maximum branding impact | Highest |
| Partial wrap | 25% to 75% of surface | Budget-conscious campaigns | Moderate |
| Spot graphics | Logos, lettering only | Simple identification | Lowest |
| Decals and lettering | Key info only | Regulatory compliance plus branding | Low |
You should also explore your commercial vinyl services options early so you understand what is available at different price points. Full wraps command the most attention but require more upfront investment. For a small fleet just starting with branded vehicles, a high-quality partial wrap with a clean design often delivers exceptional results relative to cost.
Pro Tip: If you manage a mixed fleet with vans, box trucks, and passenger cars, document each vehicle type separately. The design that works perfectly on a cargo van will look completely different on a compact sedan. Plan for each vehicle class from the start.
Prepare your vehicles and gather design assets
With your goals set, the next step is making sure your fleet and design assets are ready for action.
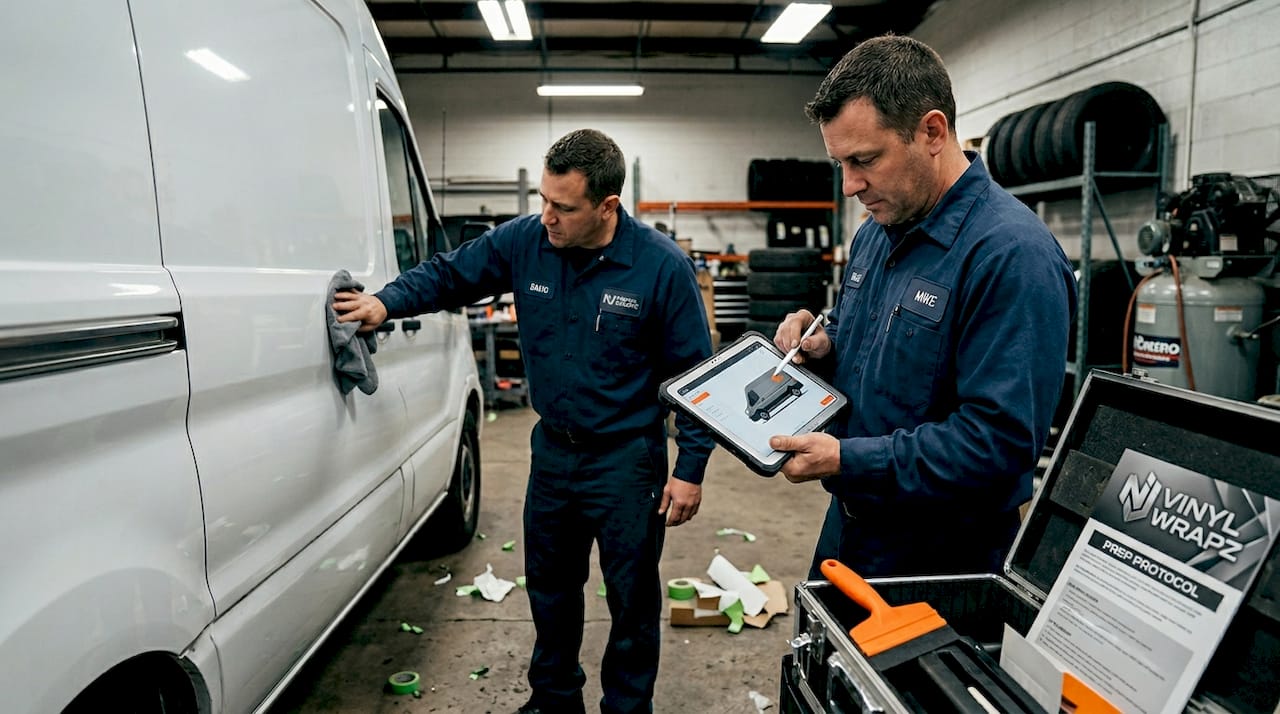
Most wrap problems that show up after installation actually originate before the designer opens their software. Either the vehicle surface was not properly prepared, or the client handed over low-resolution logo files that could not hold up at the large scale of a full wrap. Both issues are avoidable with a structured preparation process.
Vehicle preparation checklist before any wrap project:
- Wash all vehicles thoroughly, including wheel wells and door jambs
- Inspect the surface for rust, dents, scratches, or previous adhesive residue
- Document any existing damage with photos before work begins
- Ensure paintwork is fully cured if any recent body work was done
- Remove aftermarket accessories that could interfere with wrap edges
- Verify that all vehicle panels are smooth and free of deep gouges
Proper surface prep and high-quality design files are crucial for a smooth wrap installation and maximum longevity. A trained installer inspects the vehicle before beginning, but as a fleet manager, getting ahead of this step saves time and prevents costly rework.
On the design asset side, gather everything in one organized location before your first meeting with the wrap specialist. Here is a useful reference table:
| Asset type | Format needed | Common mistake |
|---|---|---|
| Company logo | Vector file (.ai, .eps, .svg) | Providing only JPEG or PNG |
| Brand colors | Pantone or CMYK codes | Describing colors verbally |
| Photos or graphics | 300 DPI or higher resolution | Using images pulled from a website |
| Fonts | Licensed font files | Assuming the designer has them |
| Contact information | Final, verified text | Providing outdated phone numbers |
| Vehicle dimensions | Year, make, model, and body style | Assuming all vans are the same |
Whether you are pursuing full vehicle wraps for maximum impact or fleet wraps designed for consistency across multiple units, having complete and organized assets makes the design phase faster and more accurate. The designer works from these files to build the artwork around your specific vehicle template.
Pro Tip: Ask your graphic designer or marketing agency to export your logo in all standard vector formats at your next opportunity. Store them in a shared folder so you always have the right file ready when a vendor needs it. This small habit saves hours of back-and-forth on every future project.
Collaborate on the wrap design and review proofs
Once your assets are ready, it’s time to transform them into a stunning wrap design with your designer.
The collaboration phase is where your fleet vehicles begin to take on a personality. This step is also where the most important quality decisions are made, because changes after printing and installation are expensive. Getting this phase right requires clear communication, structured feedback, and discipline around the approval process.
Here is how to run an effective design collaboration:
- Brief your designer thoroughly. Share your objective, target audience, preferred colors, messaging priority, and any brand guidelines you already use in other marketing materials.
- Request a vehicle-specific template. Designers should build artwork directly on a scaled outline of your actual vehicle, not a generic flat layout. This is the only way to accurately judge how the design will look in real life.
- Evaluate the hierarchy of information. From 50 feet away at highway speed, what does a driver see first? Your company name should dominate. Your phone number should be large enough to read in three seconds. Secondary details come last.
- Check color accuracy carefully. Screen colors look different from printed vinyl. Ask for physical color swatches or Pantone references before approving, especially for brand-sensitive colors like a specific red or blue your company is known for.
- Review for readability on all vehicle panels. A design that looks great across the full side panel might have text that gets cut off near a door handle or wheel arch. Review each panel individually.
- Limit revision rounds before approval. Set a maximum of two or three rounds of revisions so the project stays on schedule and on budget.
Commercial wrap designers in NJ recommend reviewing proofs on vehicle templates for best results. This practice eliminates the guesswork of imagining how the design transfers from a flat screen to a three-dimensional surface with curves, recesses, and physical hardware.
Warning: Never skip the formal proof approval step. Rushing straight from concept to print without a signed or documented approval puts you at risk for costly reprints if details are wrong. One misplaced phone number or a logo printed in the wrong shade of blue affects every vehicle in your fleet.
Understanding all available wrap options before finalizing the design also gives you flexibility. For example, knowing that window graphics and roof wraps are possible might change how you use the available design space.
Pro Tip: Print a scaled paper proof and tape it to the side of the actual vehicle before final approval. Standing back and looking at it in natural light reveals proportion and readability issues that screens simply cannot show.
Schedule installation and verify finished wrap quality
With your design approved, the final step is installation. Follow these steps for a seamless finish.
Professional installation in a climate-controlled environment is not optional. Heat, humidity, and dust directly affect how vinyl adheres to a vehicle surface. Wraps installed in a cold garage in January or in a dusty outdoor lot are far more likely to develop edge lifting, bubbles, and premature peeling. This is why choosing an experienced, facility-equipped installer matters as much as the design itself.
Steps to a smooth installation experience:
- Schedule during low-demand periods. Coordinate with your operations team to wrap vehicles on their lightest usage days. For most NJ businesses, this means midweek or overnight slots.
- Confirm the installation environment. The facility should be climate-controlled, well-lit, and free of dust and debris.
- Plan for vehicle downtime. A professional full wrap typically takes one to two days per vehicle. A partial wrap or lettering job can be completed in a few hours.
- Arrange for interim coverage if needed. If your fleet operates daily and downtime is critical, stagger the schedule so not all vehicles are in the shop at the same time.
- Inspect the work before accepting delivery. Walk around each vehicle in good lighting and look at every panel closely.
Post-installation quality checklist:
- No visible bubbles or lifting edges along seams
- Wrap is smooth around door handles, mirrors, and contoured panels
- Colors match the approved proof exactly
- Text is fully legible and correctly positioned
- No visible stretch marks or distortion in graphics
- Seams between panels are tight and aligned
Verifying proper wrap installation is essential for durability and long-lasting visual impact. Minor issues like small edge lifts can be repaired quickly when caught immediately. Left unaddressed, they expand and lead to costly full-panel replacements.
Wrap longevity stat: A professionally installed wrap using premium vinyl from trusted brands lasts five to seven years under normal use and maintenance. Regular hand washing, avoiding high-pressure jets directly at seam edges, and parking in shaded areas whenever possible extends the life of the graphic significantly.
For NJ fleet wrap installation that minimizes disruption and delivers consistent results across multiple vehicles, working with a team that has dedicated installation bays and established protocols makes all the difference.
Why strategic wrap design is the best ROI for NJ fleets
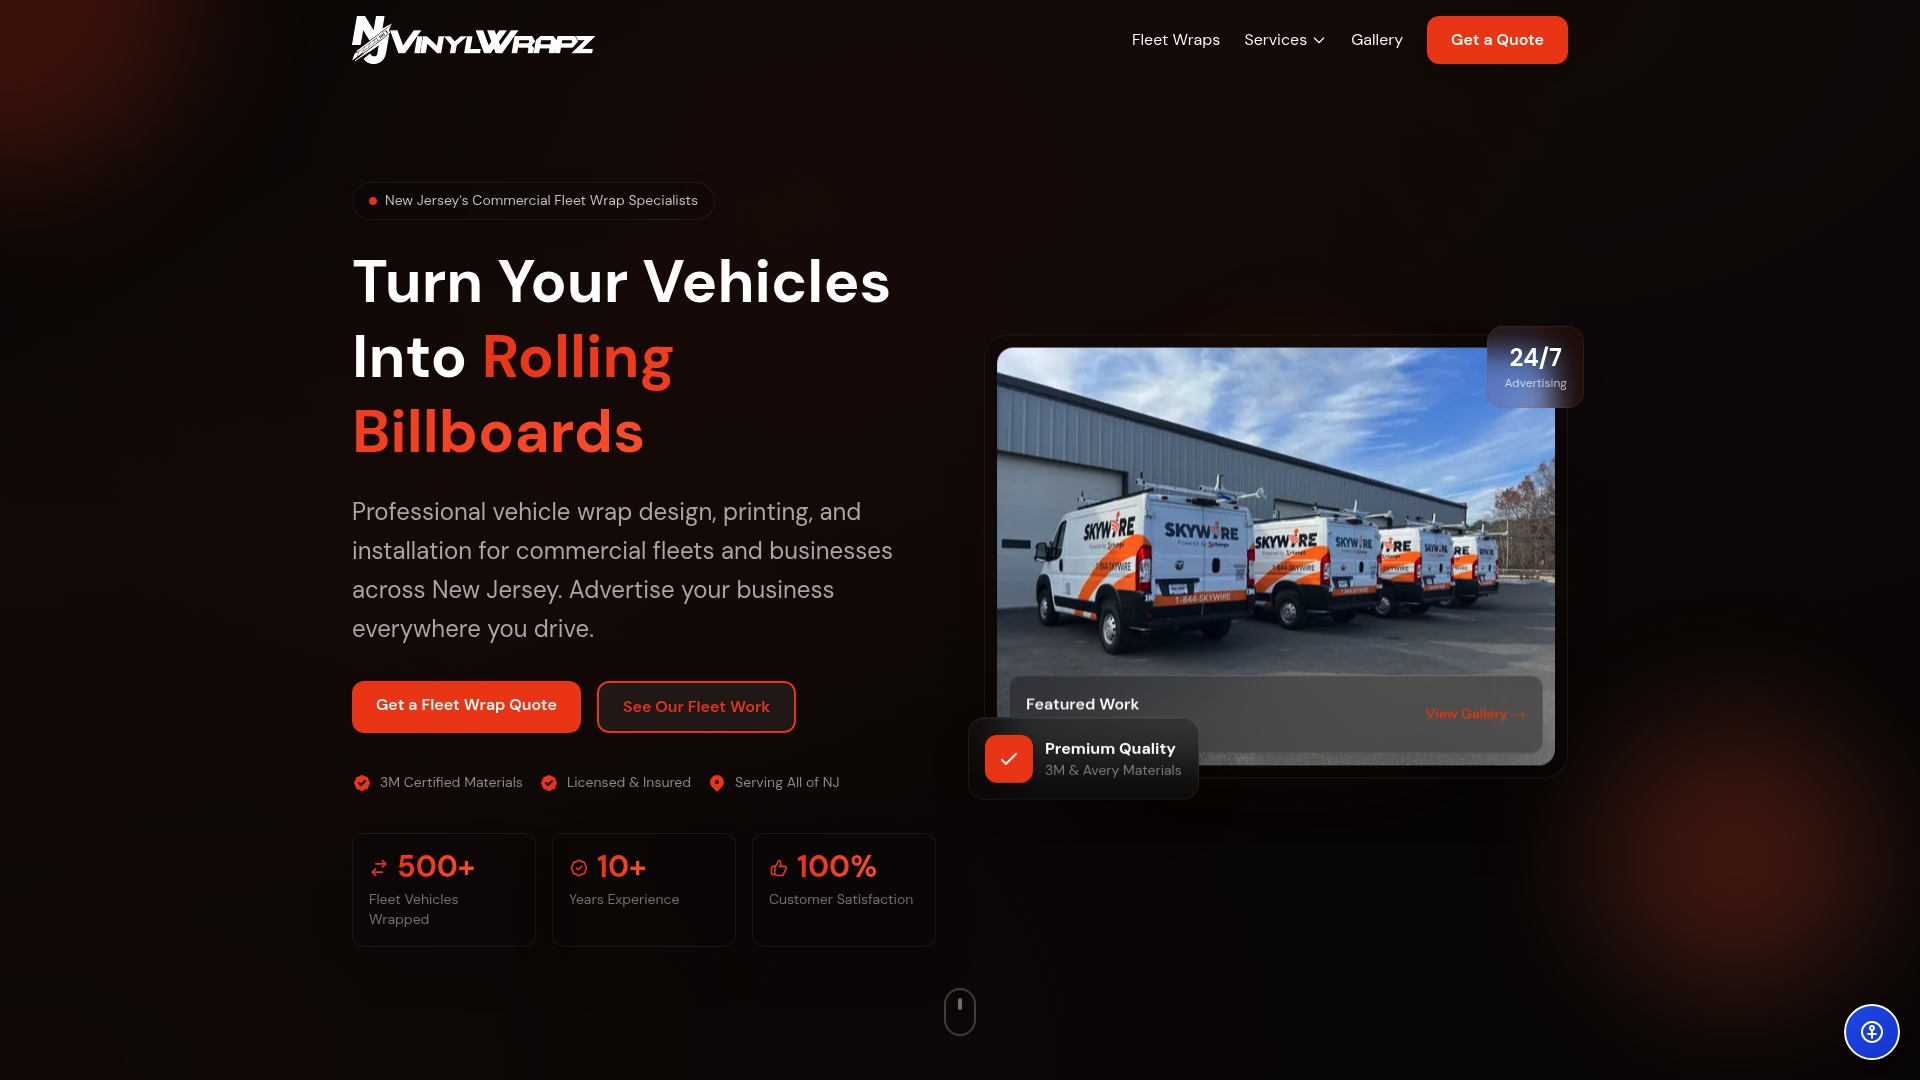
Here is an uncomfortable truth that most marketing conversations gloss over: your fleet vehicles are probably your most underutilized advertising asset. Businesses pay for digital ads that disappear when the budget runs out, billboards that go dark at night, and mailers that get thrown away in seconds. A wrapped vehicle is none of those things. It works 24 hours a day, 365 days a year, simply by existing.
The ROI on commercial vehicle advertising is genuinely hard to match at the local level. Studies estimate that a single wrapped vehicle generates between 30,000 and 70,000 impressions per day in an urban environment. Across a fleet of ten vehicles, that becomes a staggering daily reach that no reasonable local ad budget can replicate.
What we see constantly is businesses investing heavily in the wrap itself but underinvesting in the design. They treat it as a decoration rather than a strategic communication tool. The companies that get the best results are the ones that spend real time on the planning phase: who is the audience, what is the single most important message, and how do you communicate that in under three seconds at 60 miles per hour? The design process is where your return is actually built.
Do not let budget pressure push you into a rushed or generic design. A well-designed wrap on a single vehicle, executed properly, will outperform a fleet of poorly branded vans every time.
Upgrade your fleet branding with NJ Vinyl Wrapz
If you are ready to turn your New Jersey fleet into a rolling branding engine, working with experienced professionals is the fastest path from idea to impact.
NJ Vinyl Wrapz brings over 10 years of commercial fleet branding experience, working with premium 3M and Avery materials in climate-controlled installation facilities across New Jersey. Whether you need full vehicle wraps services for a single standout unit or a fully coordinated campaign across your entire fleet, our team handles design, printing, and installation from start to finish. Connect with our NJ fleet wrap experts to schedule a consultation and see how commercial wrap solutions can put your brand to work on every road in New Jersey.
Frequently asked questions
How long does a commercial vehicle wrap last?
Commercial wraps typically last five to seven years with professional installation and proper maintenance, including regular hand washing and avoiding high-pressure water at seam edges.
Can wraps be customized for different fleet vehicles?
Yes, wraps are fully tailored to each vehicle’s specific make, model, and body style, so your branding stays consistent and proportional whether you are wrapping a cargo van or a pickup truck.
What design files are needed for a commercial wrap?
You will need vector logo files in .ai, .eps, or .svg format, along with your Pantone or CMYK brand colors and any photography at 300 DPI or higher resolution.
Is fleet wrap installation disruptive to operations?
Professional installation teams schedule work around your business hours and stagger vehicle intake across your fleet so you maintain operational coverage throughout the project.