Most business owners assume a vehicle wrap is simply a matter of slapping a logo and phone number on a van and calling it advertising. That assumption costs real money. A poorly executed wrap gets ignored, peels early, or worse, makes your brand look unprofessional to the thousands of New Jersey drivers who see it every week. The truth is that effective fleet wrap design follows a structured, technical process that blends strategic thinking, production expertise, and installation precision. Understanding each stage puts you in a position to get real ROI from every vehicle in your fleet.
Table of Contents
- Understanding the vehicle wrap design process
- From digital concept to production-ready artwork
- Common pitfalls: What can go wrong in vehicle wrap design
- Fleet branding: Consistency and impact across multiple vehicles
- Our perspective: The wrap design element most people overlook
- Ready to get started? Upgrade your fleet with top-tier wrap design
- Frequently asked questions
Key Takeaways
| Point | Details |
|---|---|
| Strategic workflow matters | A successful wrap project depends on detailed steps from goal-setting to installation, not just graphic design. |
| Production files are critical | Only artwork built with real-world constraints avoids costly issues during installation. |
| Avoid common pitfalls | Don’t let seams, angles, or careless text placement undermine your message. |
| Fleet consistency wins | Standardized design rules mean your fleet sends a powerful, unified brand message. |
| Expertise maximizes ROI | Working with professionals ensures your wrap investment delivers both looks and leads. |
Understanding the vehicle wrap design process
Before you approve a single graphic, it helps to know exactly what you are approving at each stage. Many fleet managers and marketing directors come to us having only seen the final product on someone else’s truck. They know what good looks like, but they have never seen the steps that get you there.
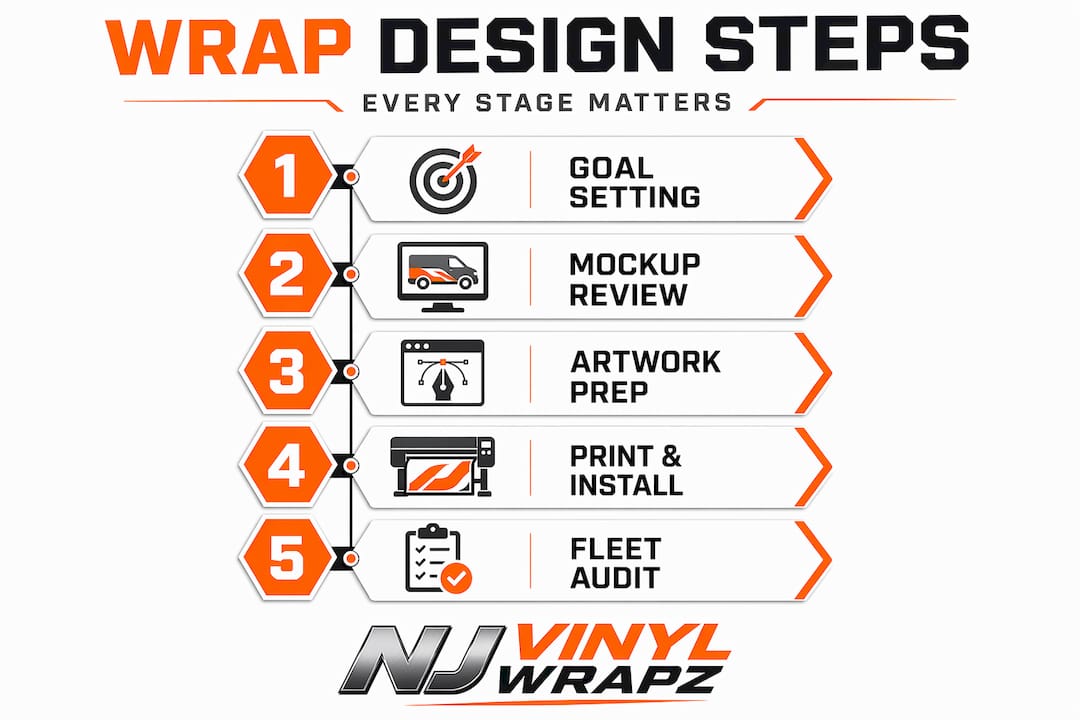
A full wrap design workflow moves through five distinct phases, and shortcuts in any one of them show up as visible problems on the road. According to industry guidance, a typical wrap design process moves from defining goals to selecting and inspecting the vehicle, then to creating concepts and mockups, producing production-ready artwork for print and cutting, completing proofing and approvals, and finally printing, lamination, and installation with a post-install inspection. That is a lot of ground to cover, and every step matters.
The five stages of professional vehicle wrap design:
- Define wrap objectives. What is the wrap supposed to do? Generate calls? Build neighborhood recognition? Drive traffic to a website? Your objective shapes every design decision that follows.
- Vehicle selection and inspection. Not every vehicle wraps the same way. Surface condition, existing damage, panel curves, and door configurations all affect how a design must be built. A pre-wrap inspection catches issues before they become print and install problems.
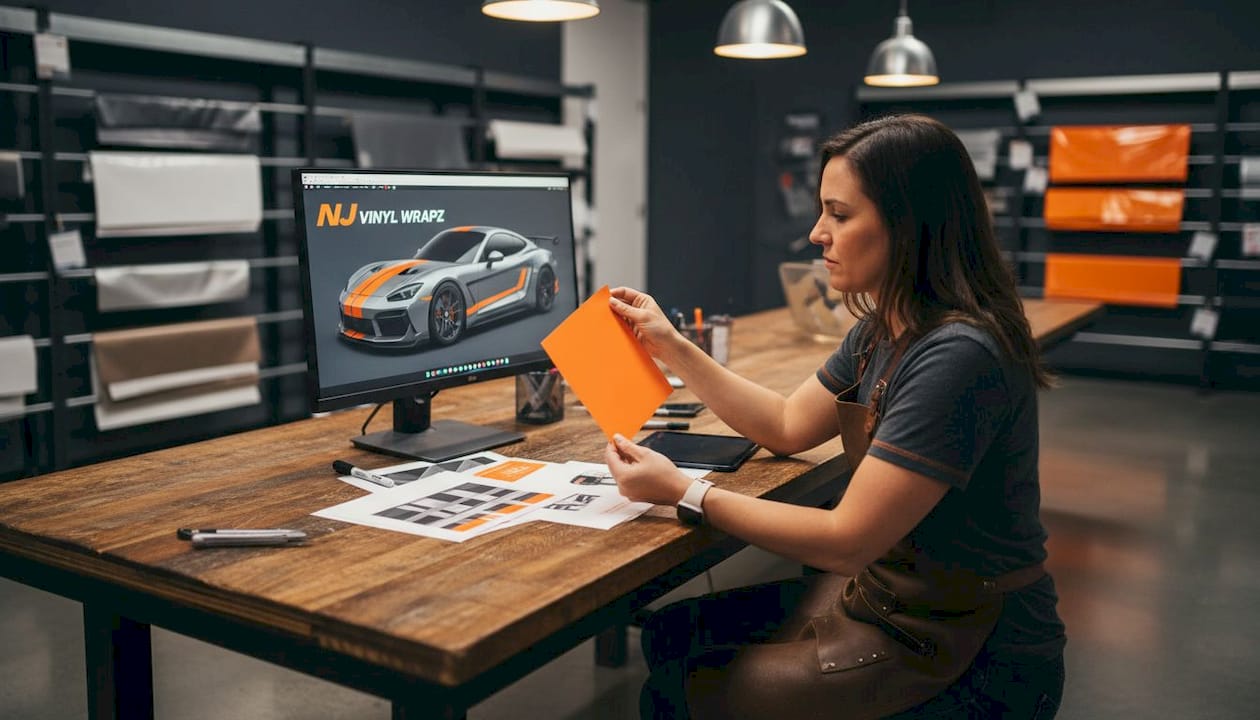
- Concepts and mockups. Designers create scaled visuals that show how the wrap will look on the actual vehicle. This is where you give creative direction and make changes before any vinyl is cut.
- Production-ready artwork and proofing. The concept gets converted into files built to print and cut specs. Colors are verified, bleeds are set, and every element is checked against the vehicle template.
- Installation and post-install inspection. A trained installer applies the vinyl in a climate-controlled space, then walks the vehicle to verify alignment, adhesion, and edge sealing.
| Stage | Key action | Common risk if skipped |
|---|---|---|
| Define objectives | Set measurable goals | Unclear messaging, wasted budget |
| Vehicle inspection | Check surface and panels | Adhesion failures, bubbling |
| Mockup approval | Review design on vehicle template | Surprises after print |
| Production proofing | Verify files, colors, bleeds | Costly reprints |
| Post-install check | Walk the vehicle for quality | Missed lifting edges |
Pro Tip: Always request a digital mockup placed on a photo of your actual vehicle model, not a generic illustration. Proportions vary significantly between a cargo van and a step van, and what looks balanced on one may look crowded on the other.
From digital concept to production-ready artwork
With the workflow in mind, the next step is translating ideas into files that print perfectly and install smoothly. This is the stage most clients never see, yet it is where the most technically demanding work happens.
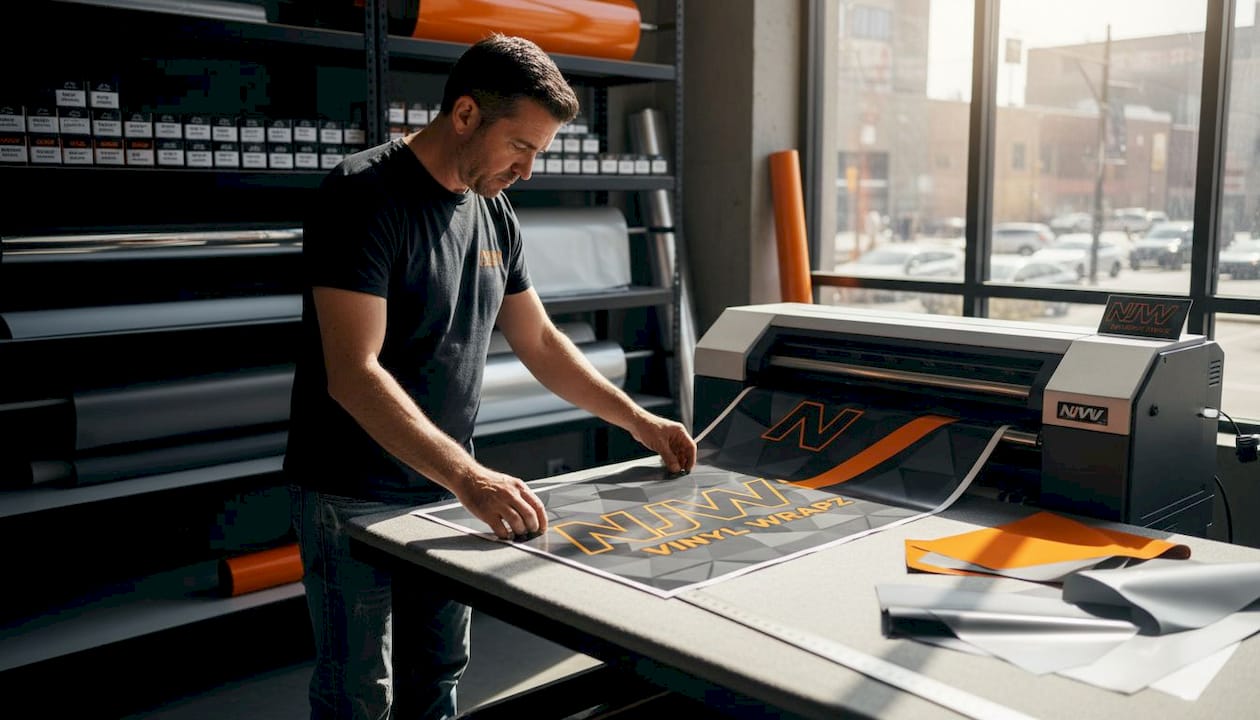
Digital designs are typically created at a scaled stage for layout and concept review. Once approved, they get rebuilt or adjusted to meet precise production file specs. As noted by vehicle wrap production specialists, production files often require proofing before final output, moving through a review of sizes, colors, and technical specifications before anything goes to print. Skipping or rushing that proofing step is one of the most common reasons businesses end up with a wrap that does not match what they approved on screen.
The physical constraints of vinyl also change how a design must be built. Industry experts point out that material and production constraints such as bleed, overlap, seams, templates, and curve-aware placement are core parts of the design process, not just installation concerns. Poor production-ready design directly causes print and install problems that no installer can fix after the fact.
Here is a practical breakdown of the difference between a basic concept file and a true production-ready file:
| Requirement | Basic design file | Production-ready file |
|---|---|---|
| Resolution | 72 to 150 DPI | 300 DPI minimum at print size |
| Color mode | RGB | CMYK with Pantone callouts |
| Bleed | None | 2 to 3 inches on all edges |
| Vehicle template | Generic or none | Exact OEM template for make, model, year |
| Seam placement | Ignored | Mapped to avoid key graphics |
| Fonts | May be editable | Outlined or embedded |
Key production requirements to discuss with your wrap provider:
- Image resolution at final print size (low resolution photographs look terrible on a full van side)
- Color matching between screen and printed vinyl, which behave very differently
- Overlap zones at panel edges to prevent white gaps from shrinkage
- Placement of critical text and logos away from door handles, hinges, and body lines
- Lamination type (gloss vs. matte) and how it affects color perception outdoors
One thing worth knowing is that color on a computer monitor is displayed in light, while printed vinyl reflects light. What looks vivid on your laptop will often look different once printed on vinyl and viewed under direct sunlight. A calibrated proofing process catches that shift before thousands of square inches of material get committed to print.
Pro Tip: Ask your wrap provider to show you a printed color swatch of your exact brand colors before full production begins. A five-minute swatch check can prevent a reprint that costs hundreds of dollars and days of delay.
Common pitfalls: What can go wrong in vehicle wrap design
Translating a design into production is not just about file specs. It is about understanding common pitfalls seen on real New Jersey roads, and avoiding the ones that make a branded vehicle look like a missed opportunity.
Experienced wrap designers know that common design edge cases include panel seams and door gaps cutting through important graphics, text placed directly across door handles and seams, and layouts that only look great straight-on while ignoring critical viewing angles like the three-quarter and rear perspectives. These issues are avoidable with the right review process.
The most frequent mistakes fleet managers encounter:
- Text and logos split by seams or hardware. When a phone number or URL lands directly over a door handle or seam, it becomes unreadable. Always map your design to the actual panel layout.
- Information placed on curved surfaces without adjustment. Text that reads perfectly on a flat template can appear warped or stretched once applied to a curved rear bumper or wheel arch area.
- Layouts optimized for one viewing angle. A design that looks strong in a straight-on front-three-quarter view may have illegible text on the rear doors or a cluttered side panel that passers-by cannot read at speed.
- Contact information split across panels. A phone number that crosses a door gap becomes two incomplete fragments. Keep all critical call-to-action information within a single panel zone.
- Too many elements competing for attention. When everything is bold, nothing stands out. A hierarchy problem is a design problem.
“The best wrap designs are built as if the viewer has three seconds while driving past at 45 miles per hour. If your brand name, core service, and phone number are not instantly readable in that window, the wrap is not working.”
Check your fleet wrap design strategies before finalizing any artwork. A review that includes front, rear, and three-quarter digital renders will catch placement issues that a flat design file simply cannot show.
Fleet branding: Consistency and impact across multiple vehicles
Stepping back from single vehicles, it is vital to see how individual wrap choices impact the cohesion and effectiveness of your entire fleet. A single eye-catching van is good marketing. Ten vans that look like they belong to the same company is a brand.
Research makes the case clearly: consistency across a fleet requires repeatable rules for layout, colors, and sizing across multiple vehicle types. Without those rules, the program starts to look inconsistent as the number of vehicles grows, and inconsistency undermines the trust and recognition you are trying to build. This is especially important for New Jersey businesses with mixed fleets, such as companies running both cargo vans and box trucks alongside pickup trucks.
Tactics for maintaining visual consistency at scale:
- Create a fleet brand style guide that defines exact Pantone color codes, approved fonts, logo placement zones, and required whitespace minimums.
- Adapt layouts for each vehicle type while keeping the core visual identity locked. The cargo van and the box truck will not be identical, but they should feel like family.
- Establish a dominant element hierarchy: logo first, core service second, contact call to action third. Every vehicle in the fleet follows that same priority order.
- Use the same lamination finish across all vehicles. A mix of gloss and matte on different trucks in the same fleet looks unintentional.
There is an important debate worth addressing here. Some experts argue for a strict single-information hierarchy with just logo, main service, and a call to action, arguing that maximizing marketing clarity means using fewer design elements. Others favor more visual richness to stop attention in cluttered environments. Both views have merit. Our experience with New Jersey fleets suggests the right balance depends on where the vehicles operate. Local residential routes favor clean and friendly designs. Highway and commercial corridor routes reward bold visuals with high contrast.
| Fleet scenario | Recommended approach | Why it works |
|---|---|---|
| Mixed vehicle types, 5+ vehicles | Centralized style guide with vehicle-specific templates | Prevents visual drift as fleet grows |
| Single vehicle type, small fleet | Consistent layout with minor size adjustments | Easier to maintain, faster to update |
| High-speed highway visibility | Bold colors, minimal text, large logo | Legibility at 65 mph requires simplicity |
| Local neighborhood service routes | Warmer visuals, full contact details | Viewers have more time to absorb information |
Pro Tip: When adding a new vehicle type to an existing fleet, pull up photos of your current vehicles before starting the new design. Visual consistency is easier to judge by eye when you are looking at the real fleet rather than working from memory.
Explore fleet wrap customization ideas for specific examples of how New Jersey businesses have scaled their branding across diverse vehicle lineups. If you are ready to move forward, our fleet wraps services page outlines the full scope of what we offer.
Our perspective: The wrap design element most people overlook
After working on fleet wraps across New Jersey for over a decade, here is the honest truth: most project problems do not start with bad design. They start with underestimating the technical side of production readiness.
Clients come to us focused on how the wrap looks, which is natural. But the projects that turn out best are the ones where the client also pays attention to how the design fits the vehicle at a technical level. The businesses that get the strongest results are not necessarily the ones with the most creative artwork. They are the ones who committed to expert wrap installation paired with properly built files that account for every seam, every curve, and every panel break on the vehicle.
There is also a persistent myth that more design complexity equals a more impressive result. In practice, the opposite is often true. A clean, readable wrap with a dominant logo, clear service statement, and single contact number outperforms a cluttered design every time, especially at highway speeds. Flashy graphics may get a second glance. Clear information gets a phone call. And phone calls are why you are investing in fleet branding in the first place.
The uncomfortable lesson we share with fleet managers is this: your wrap is not art for a gallery. It is a moving billboard, and it needs to work in three seconds or less.
Ready to get started? Upgrade your fleet with top-tier wrap design
Understanding the wrap design process is the foundation, but executing it well requires the right partner.
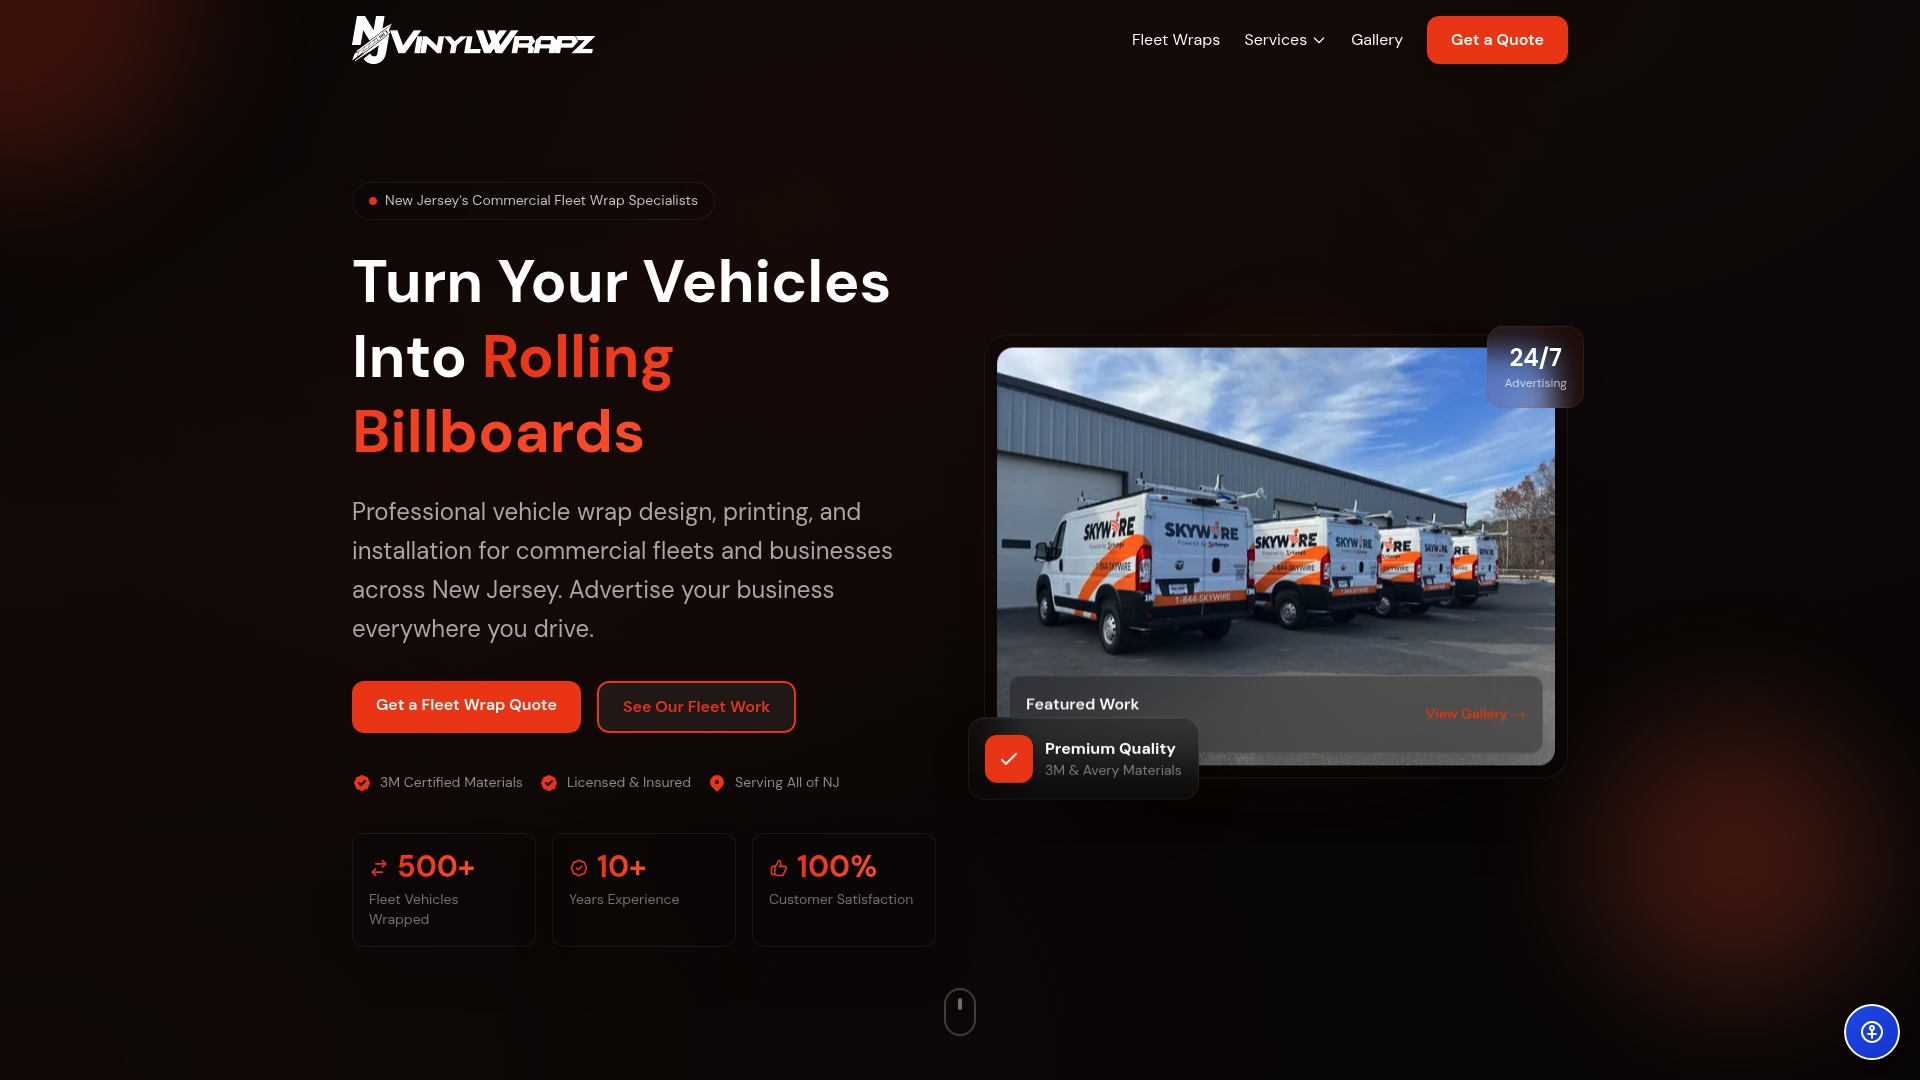
At NJ Vinyl Wrapz, we guide New Jersey fleet managers and marketing directors through every stage, from initial goal setting to post-install inspection, using premium 3M and Avery materials in our climate-controlled facility. Our fleet wraps solutions are built for businesses that need results, not just good-looking graphics. Browse our full range of NJ wrap options to see what is possible for your vehicle types. When you are ready to put a strategic, production-ready wrap on every vehicle in your fleet, NJ’s fleet wrap experts are here to make it happen. Contact us for a free consultation and let’s build a wrap program that works as hard as your team does.
Frequently asked questions
How long does a typical vehicle wrap design process take from start to finish?
A full wrap design and install process usually takes between one and three weeks, depending on project complexity and how quickly client approvals move through each stage. Multi-vehicle fleets may require additional time for consistent template development, as outlined in the essential guide to professional vehicle wraps.
What is the difference between a digital wrap design and production-ready artwork?
A digital design is a visual concept for review and approval, while production-ready artwork contains all the technical specifications including resolution, bleeds, color mode, and seam mapping needed to print and install correctly. Skipping the conversion step leads to the production and install issues that cause costly reprints.
What are the most common mistakes in vehicle wrap design?
The most common issues are graphic or text placement over seams and door hardware, and designs that were only reviewed from a straight-on angle without checking the three-quarter or rear views. These design edge cases are easily prevented with a thorough multi-angle digital review before production approval.
How do you ensure consistent branding across a fleet of different vehicles?
Build a fleet brand style guide with fixed rules for layout, colors, and sizing, then adapt those rules to each vehicle type without breaking the core visual identity. Without that structure, fleet branding consistency deteriorates as the number of vehicles increases, weakening the recognition you are working to build.