Every van on the road is either a missed opportunity or a rolling billboard. If you want to know how to wrap vans for business the right way, skipping steps will cost you more than the wrap itself. A poorly planned wrap fades fast, peels at the edges, and sends exactly the wrong message to potential customers. Done correctly, a professionally wrapped van generates thousands of daily impressions at a fraction of traditional advertising costs. This guide walks you through every stage, from selecting materials to installation and long-term maintenance, so your investment actually delivers results.
Table of Contents
- Key takeaways
- How to wrap vans for business: what you need before you start
- Step-by-step process for wrapping a business van
- Common mistakes to avoid when wrapping business vans
- Maximizing brand impact and maintaining your van wrap
- What I’ve learned after years of fleet wrap projects
- Get your business van wrapped the right way with Njvinylwrapz
- FAQ
Key takeaways
| Point | Details |
|---|---|
| Material selection matters | Choose cast vinyl over calendered for vehicles that will face outdoor exposure and daily use. |
| Surface prep determines adhesion | Deep cleaning and decontamination before installation prevents bubbles, lifting, and early wrap failure. |
| Post-heating is non-negotiable | Heating vinyl to 190°F–212°F after application locks in the wrap and prevents premature curling. |
| Design simplicity drives recall | Prioritize your brand name, core service, and one call-to-action over complex graphics or photo collages. |
| Budget realistically | A full van wrap costs between $2,500 and $6,000 depending on size, material, and complexity. |
How to wrap vans for business: what you need before you start
Before a single sheet of vinyl touches your van, three decisions will determine whether this project succeeds or fails. Those decisions involve materials, vehicle condition, and design. Get any one of them wrong and you are looking at a redo within two years.
Choosing the right vinyl material
Not all vinyl is built the same, and the difference matters when your van sits in a New Jersey parking lot through August heat and February salt. Cast vinyl conforms to curved panels and complex body lines without stress, which means fewer wrinkles and longer adhesion. Calendered vinyl is cheaper but stiffer, making it better suited for flat surfaces or short-term applications. For business vehicles that need to look sharp for five or more years, cast vinyl from 3M or Avery is the standard worth paying for.
Vehicle condition and surface preparation
Your installer cannot fix what the surface prep misses. Proper surface prep requires deep cleaning, a clay bar treatment to remove embedded contaminants, and the complete removal of wax, silicone, and polish residue. Any oil or debris left on the surface creates microscopic barriers that kill adhesion. Bubbles and early edge lifts trace back to this stage almost every single time.
Here is what your pre-wrap checklist should include:
- Wash the entire vehicle with a dedicated degreaser
- Use a clay bar on all panels to be wrapped
- Wipe down with isopropyl alcohol to remove any remaining residue
- Inspect for rust, dents, or peeling paint that could interfere with adhesion
- Repair any surface damage before installation day
Design basics and branding decisions
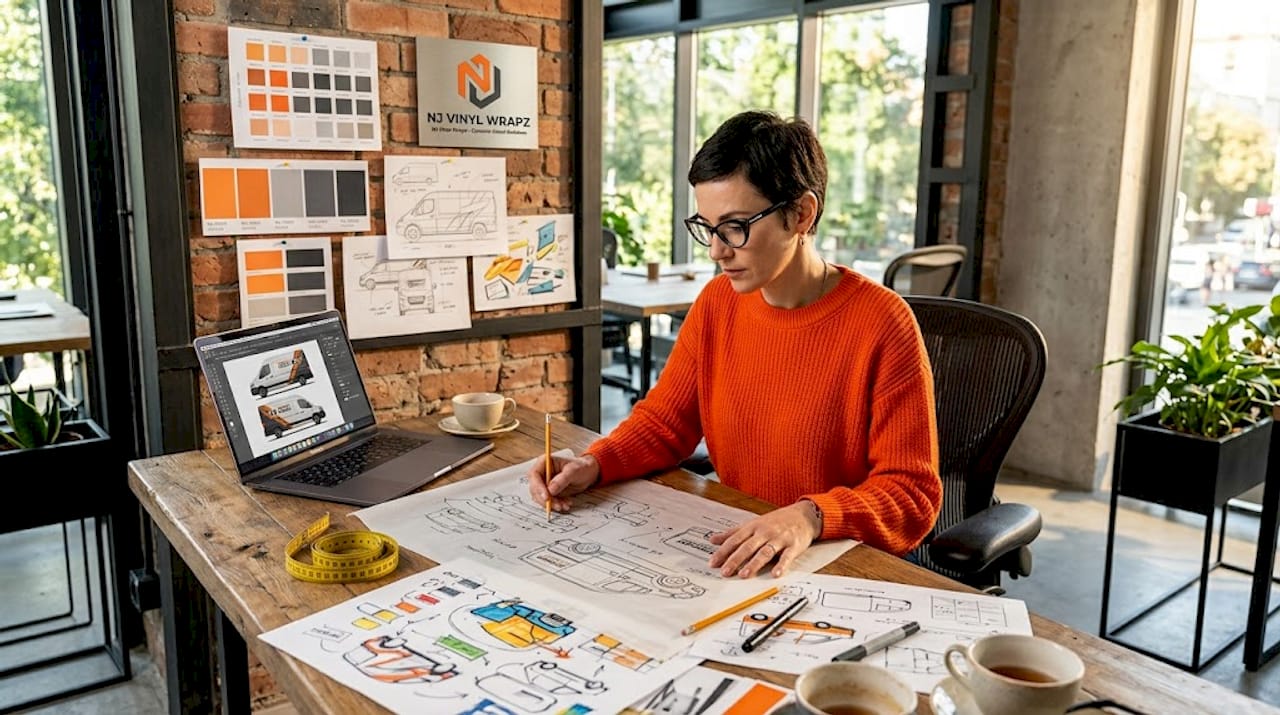
Business van graphics are not about making the van look cool. They are about communicating your brand in under three seconds to a driver in the adjacent lane. That means your company name takes priority over everything else, followed by your primary service and one contact method. Effective fleet wraps put brand name first, then a core service statement, then a single call-to-action. Anything beyond that starts working against you.
Pro Tip: When designing business van graphics, treat the driver’s side and rear as the two highest-priority surfaces. These get the most sustained viewing time from other road users.
Professional vs. DIY installation
A custom van wrap applied in your driveway will almost never match one done in a climate-controlled shop with trained technicians. The tools needed include heat guns, squeegees, knifeless tape, and an infrared thermometer. More importantly, the workspace temperature must stay between 68°F and 75°F for proper adhesive bonding. If you want results that hold up and represent your business professionally, professional installation is the clear call.
Step-by-step process for wrapping a business van
Understanding the full installation process helps you set realistic timelines and know exactly what your installer should be doing at each stage. Most professional jobs take three to five business days from start to finish.
-
Initial consultation and design approval. You meet with the wrap shop to discuss brand goals, vehicle measurements, and layout preferences. Mockups should be reviewed on a vehicle template, not just a flat screen, to see how the design wraps around panels and curves.
-
Vehicle drop-off and inspection. The shop inspects the van for surface damage, existing paint condition, and any areas that need attention before vinyl application begins.
-
Deep cleaning and decontamination. The shop completes the full surface prep process described above. This step is not optional, even if the van looks clean to the naked eye.
-
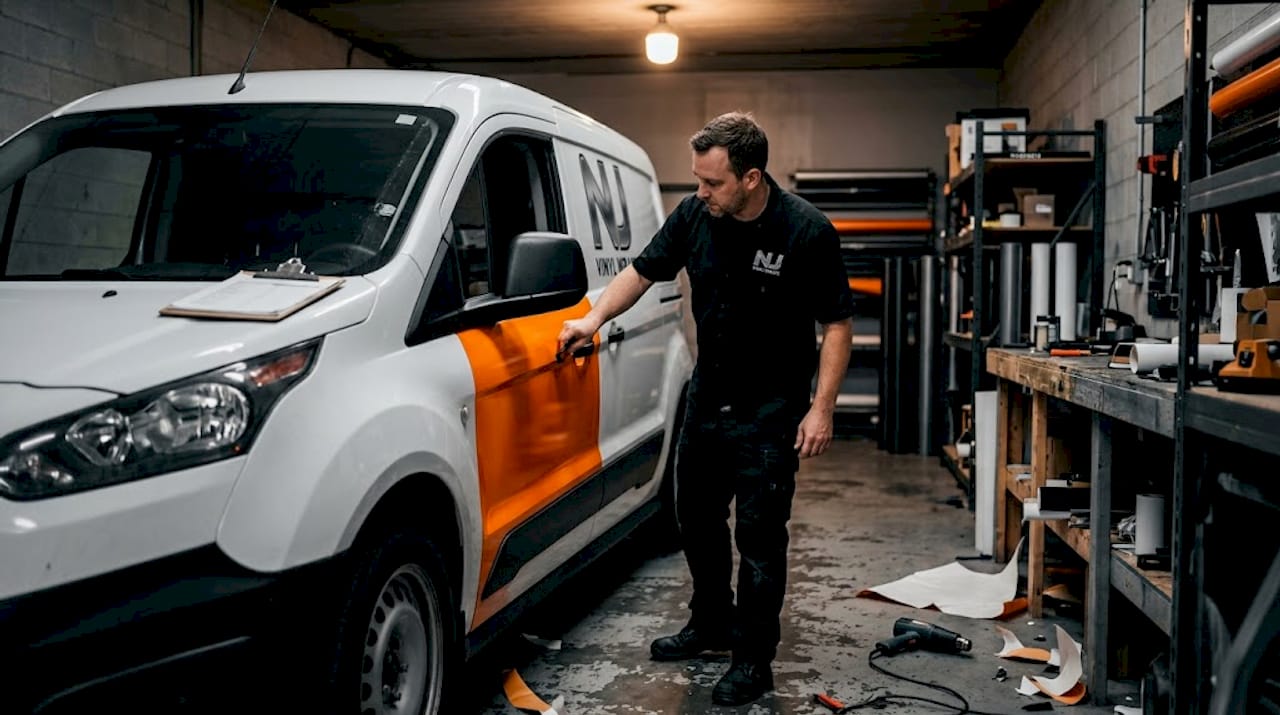
Panel-by-panel vinyl application. Technicians work section by section, applying vinyl with squeegees to push air out and achieve a smooth, bubble-free finish. Complex areas like mirrors, door handles, and bumpers require precise cuts and heat shaping.
-
Post-heating and curing. This step separates professional installs from amateur ones. Post-heating vinyl to 190°F–212°F breaks the material’s memory, locking it into the panel’s shape and preventing lifting over time. An infrared thermometer is used to confirm the vinyl reaches this range uniformly across stretched areas.
-
Final inspection and touch-ups. The installer checks all seams, edges, and cutlines for lift, misalignment, or imperfection. Any issues are corrected before the vehicle is returned.
Pro Tip: Ask your installer specifically about their post-heating process. If they cannot describe which areas get prioritized for heat treatment and what temperature they target, that is a red flag worth addressing before you hand over your keys.
The installation environment matters as much as the installer’s skill. Temperatures below 60°F make vinyl brittle and difficult to conform. Above 85°F, vinyl can bond prematurely and overstretch, compromising long-term adhesion. A climate-controlled facility is not a luxury. It is a technical requirement for quality work.
Common mistakes to avoid when wrapping business vans
Most wrap failures are preventable. The same errors show up repeatedly across businesses of all sizes, and understanding them upfront saves you time, money, and the embarrassment of a peeling logo on your van six months after installation.
- Overloading the design. Putting your tagline, phone number, website, social media handles, email, and a product photo on the same panel is a common trap. Cluttered wrap designs consistently underperform. Viewers cannot process too much at highway speed.
- Ignoring installation temperature. DIY attempts done in cold garages or unconditioned spaces fail fast. Vinyl will not bond correctly and will start lifting within weeks.
- Skipping post-heat treatment. Post-heating is the most skipped step in DIY installs, and it causes premature wrap failure, especially on curved and stretched panels.
- Choosing the cheapest material available. Budget vinyl looks good in the shop. Three months of UV exposure, rain, and road salt tell a different story.
- Not checking installer credentials. A licensed, experienced installer working in a proper facility is a non-negotiable baseline. Check for certifications from material brands like 3M or Avery.
If you spot edge lifting or small bubbles early, address them immediately. A qualified installer can re-heat and press down a lifting edge in minutes. Ignore it for a month and that edge becomes a full panel peel that needs a partial replacement.
Partial wraps deserve a mention here too. If your budget is tight, a partial wrap covering 25-50% of the vehicle, like the doors and tailgate, is a legitimate and cost-effective choice. It keeps your brand visible without the full investment, and it can always be expanded later.
Maximizing brand impact and maintaining your van wrap
Getting the wrap installed is only half the work. The other half is making sure the design actually drives brand recognition and that the wrap stays in strong condition for its full lifespan.
Here is what strong van advertising technique looks like from a design standpoint:
- Use high-contrast color combinations so your brand reads clearly against varied road backgrounds
- Stick to one or two fonts maximum, with your company name in the largest text on the vehicle
- Matte finishes stand out in traffic because most vehicles have gloss paint, giving your fleet a distinctive look
- For fleet wrap consistency, create a brand standards document that locks in exact colors, placement, and sizing across every vehicle in your fleet
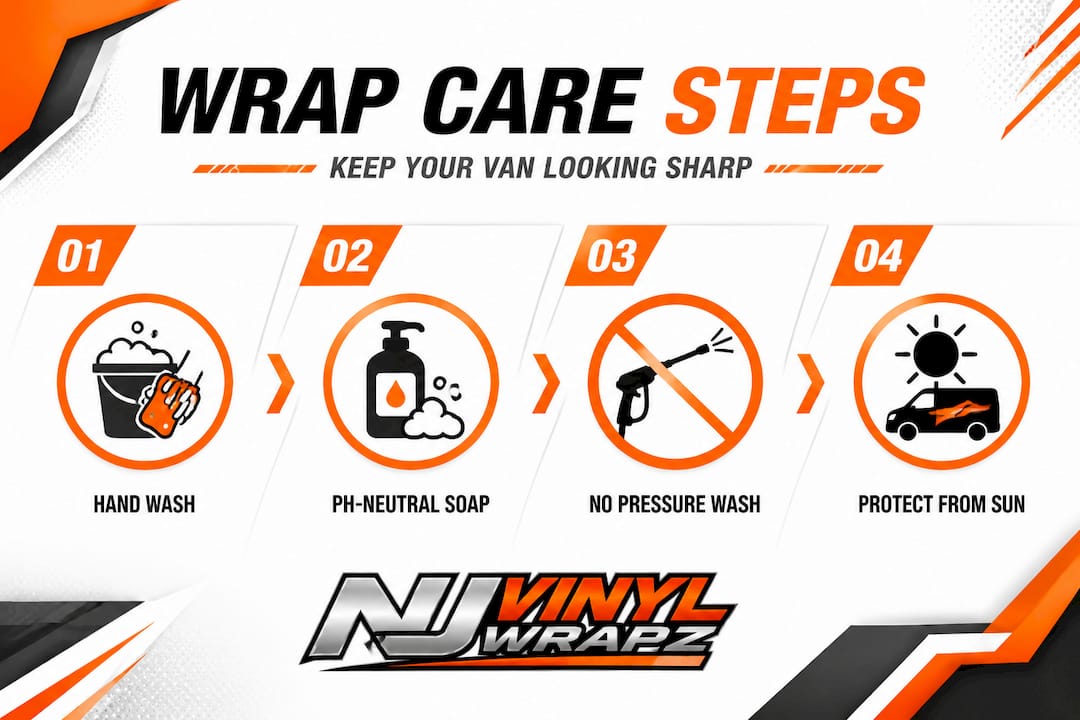
On the maintenance side, the goal is simple: protect the vinyl from what degrades it fastest. UV exposure is the leading cause of wrap fading and degradation. Parking in shaded or covered areas whenever possible adds real life to the wrap.
Pro Tip: Hand wash your wrapped van with a pH-neutral soap and a soft microfiber cloth. Pressure washers, brush car washes, and harsh detergents all attack vinyl over time. This single habit can add a full year to your wrap’s life.
For fleet managers standardizing across multiple vehicles, the benefits of a consistent wrap program go beyond aesthetics. Research consistently shows that simple wrap designs with strong branding generate better viewer recall than photo-heavy or cluttered alternatives. A fleet of identically branded vans builds cumulative recognition in your market in a way that individual ad placements never can. Read more about protecting your fleet wraps over the long term to build a maintenance plan that holds up.
What I’ve learned after years of fleet wrap projects
I’ve watched businesses spend serious money on van wraps that delivered almost no brand value. Not because the install was bad, but because the brief was wrong from the start. The company treated the wrap like a decoration rather than an advertisement. They filled every panel with imagery that looked impressive in the design mockup and was completely unreadable at 45 miles per hour on Route 9.
What I’ve found is that most business owners underestimate how much the design decision matters relative to everything else. They focus on material grade and installation cost, which are legitimate concerns, but they hand off a cluttered, committee-approved design and expect it to perform. It won’t.
The other mistake I see consistently is undervaluing the installation environment. I’ve had clients come to us after a cheaper shop wrapped their van in a garage in November. The vinyl looked fine for two weeks. By spring, three panels were lifting. The cost to remove and redo that work was more than the original job.
My honest advice: invest in the design consultation as seriously as you invest in the material and the install. A clean, professionally designed wrap on a properly prepped vehicle, installed in a climate-controlled facility, will outperform any budget shortcut you could take. And it will still be turning heads in year four.
— Krunal
Get your business van wrapped the right way with Njvinylwrapz
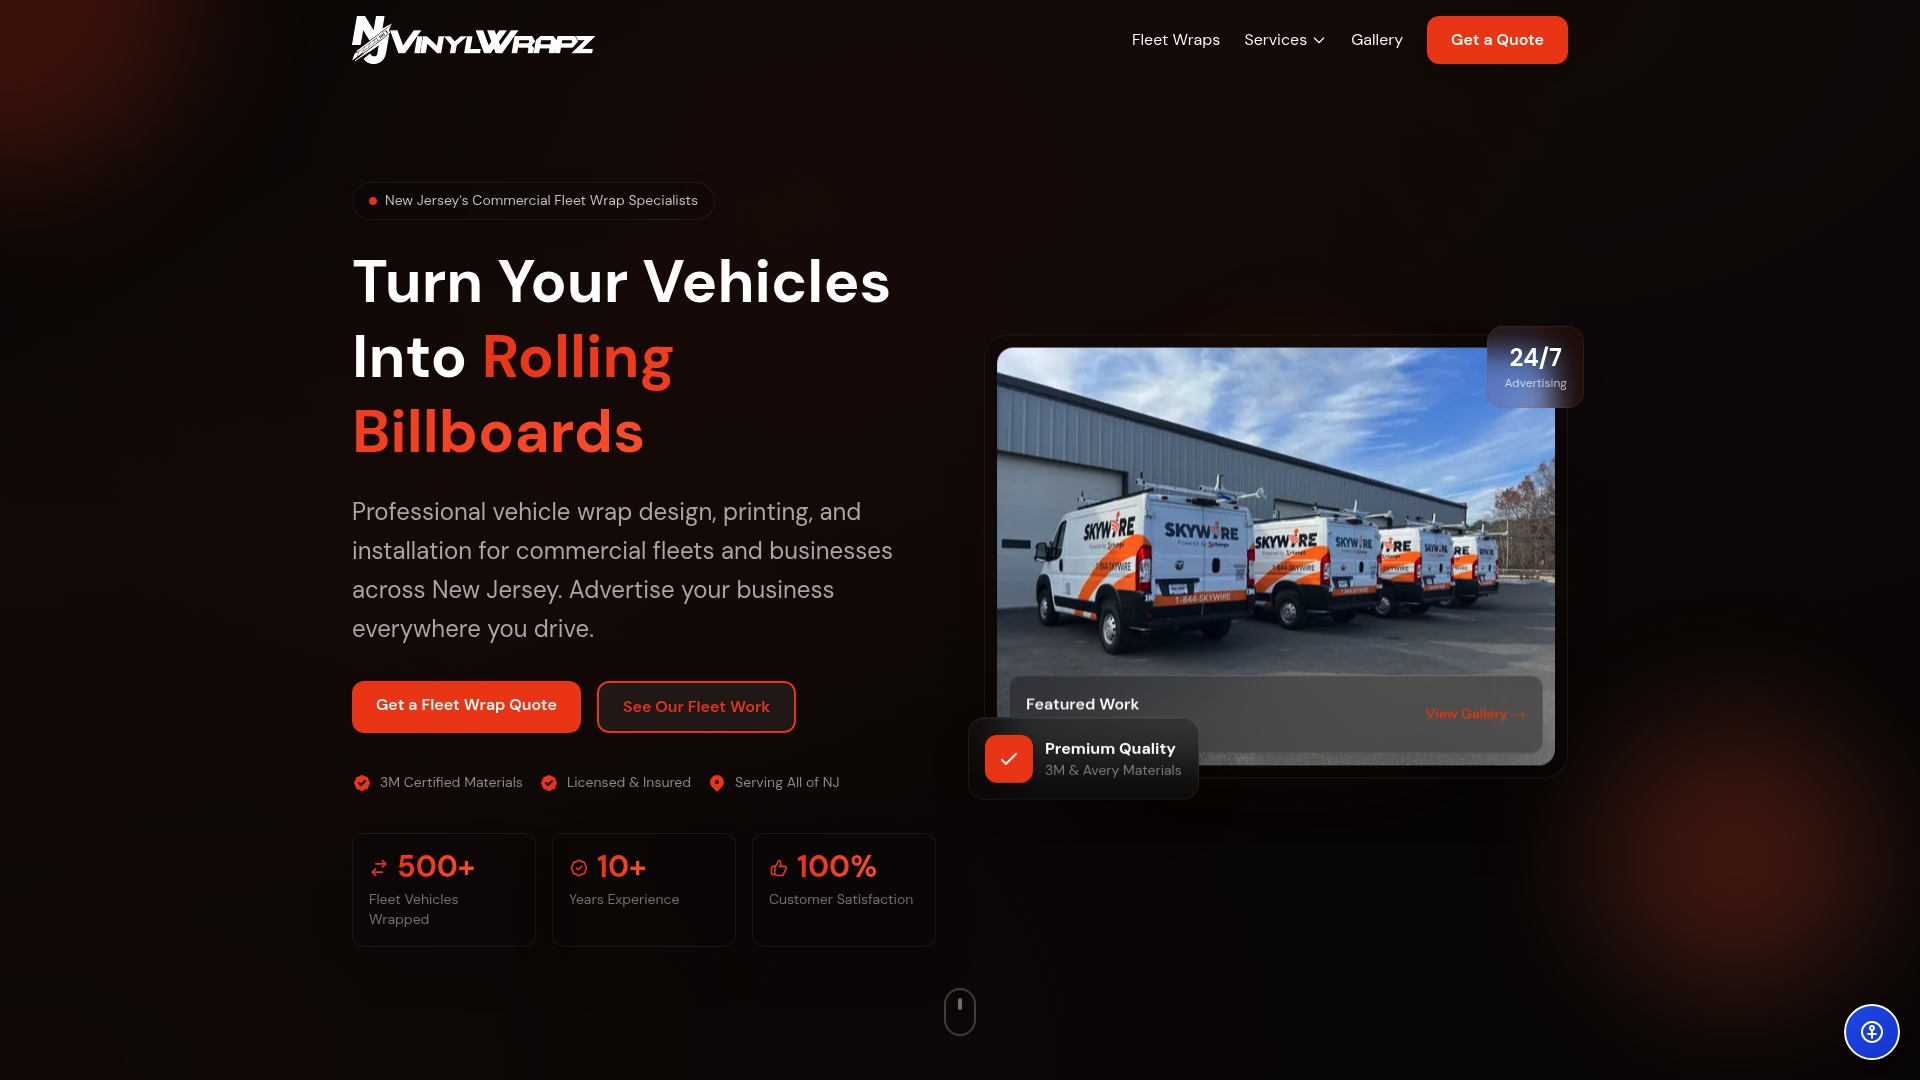
Njvinylwrapz has been wrapping commercial vehicles and fleets across New Jersey for over 10 years, working exclusively with premium materials from 3M and Avery and installing in a climate-controlled facility built for this work. Whether you need a single van or a coordinated fleet rollout, the team handles every stage from custom design through final inspection. Explore full vehicle wrap services designed specifically for business vans, or browse the full range of wrap options from vehicle lettering to partial and full coverage solutions. For fleets that need consistent branding across multiple units, the fleet wrap program delivers uniformity at scale. Reach out today for a consultation and free quote.
FAQ
How much does it cost to wrap a van for business?
A full van wrap typically costs between $2,500 and $6,000, while partial wraps run from $1,500 to $2,500, depending on vehicle size, vinyl type, and design complexity.
How long does a professional van wrap installation take?
Professional van wrap installation takes three to five business days, covering surface prep, panel-by-panel application, post-heating, and final inspection.
What vinyl material is best for business van wraps?
Cast vinyl from brands like 3M or Avery is the best choice for business vans due to its ability to conform to curved surfaces and its durability under outdoor exposure.
Can I wrap my van myself to save money?
DIY wrapping is possible for simple flat surfaces, but full van wraps require climate-controlled environments, professional tools, and post-heat treatment that are difficult to replicate outside a proper shop without risking early failure.
How do I maintain a van wrap to keep it looking professional?
Hand wash with pH-neutral soap and a soft cloth, avoid pressure washers and brush car washes, and park in shaded areas when possible to protect against UV fading and extend wrap life.