Customizing your vehicle’s appearance is the process of modifying exterior and interior elements to reflect your personal style and improve visual appeal. Whether you want to swap out wheels, apply a vinyl wrap, or refresh your cabin with new seat covers, the options span every budget and skill level. This guide covers the core methods for how to customize vehicle appearance, from bolt-on exterior upgrades to interior detailing, plus the preparation steps, legal rules, and professional versus DIY trade-offs that determine whether your project succeeds or falls flat.
What are the main exterior customization options?
Exterior customization includes wheels, lighting, body kits, spoilers, paint jobs, and wraps. Each category delivers a different visual impact at a different price point, so knowing what each involves helps you prioritize.
Wheels, tires, and finishes
Wheels are the single most visible exterior upgrade you can make without touching the paint. Aftermarket options range from multi-spoke alloys in gloss black to deep-dish chrome designs, and sizing up by one or two inches dramatically changes the stance of any vehicle. Pairing new wheels with low-profile tires amplifies the effect further. Many owners also opt for powder-coated or color-matched finishes to tie the wheel design into the rest of the car’s palette.
Lighting upgrades
LED conversions for headlights, taillights, and fog lights are among the most cost-effective vehicle styling tips available. Underglow kits and interior accent lighting add a dramatic nighttime presence. Keep in mind that lighting film tint colors are regulated in most states, so verify compliance before purchasing any colored lens covers or tinted overlays.
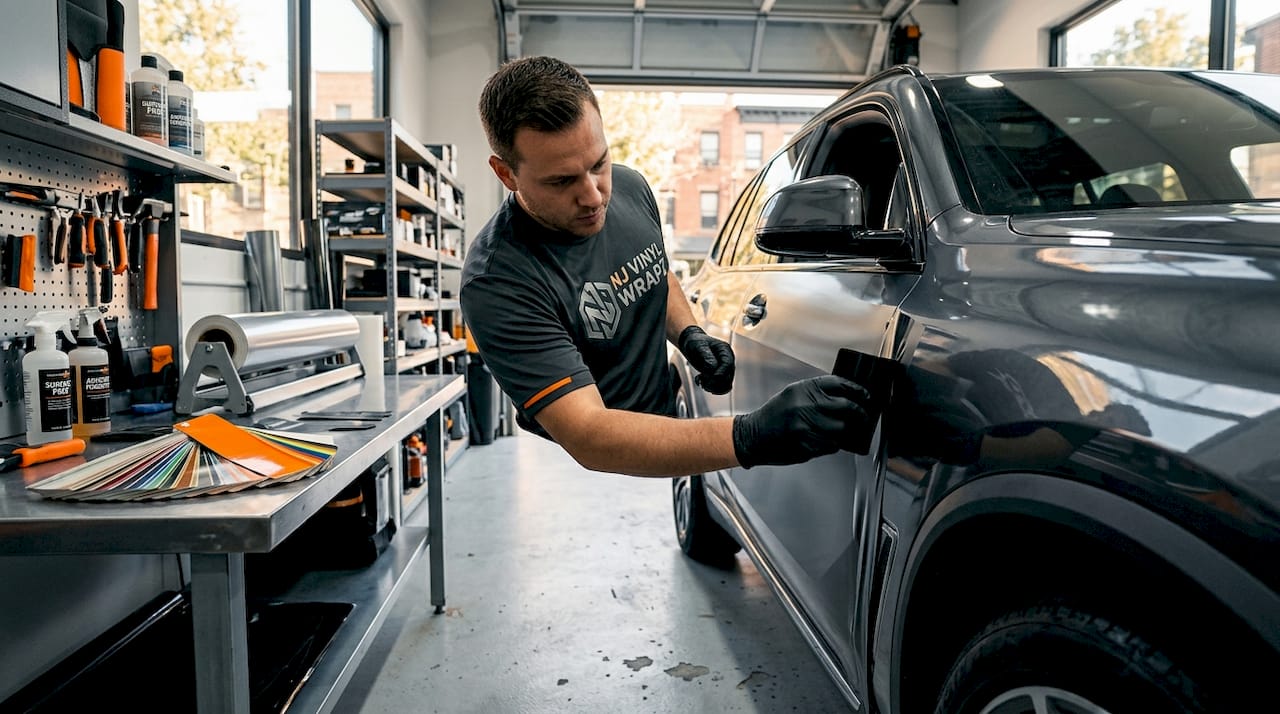
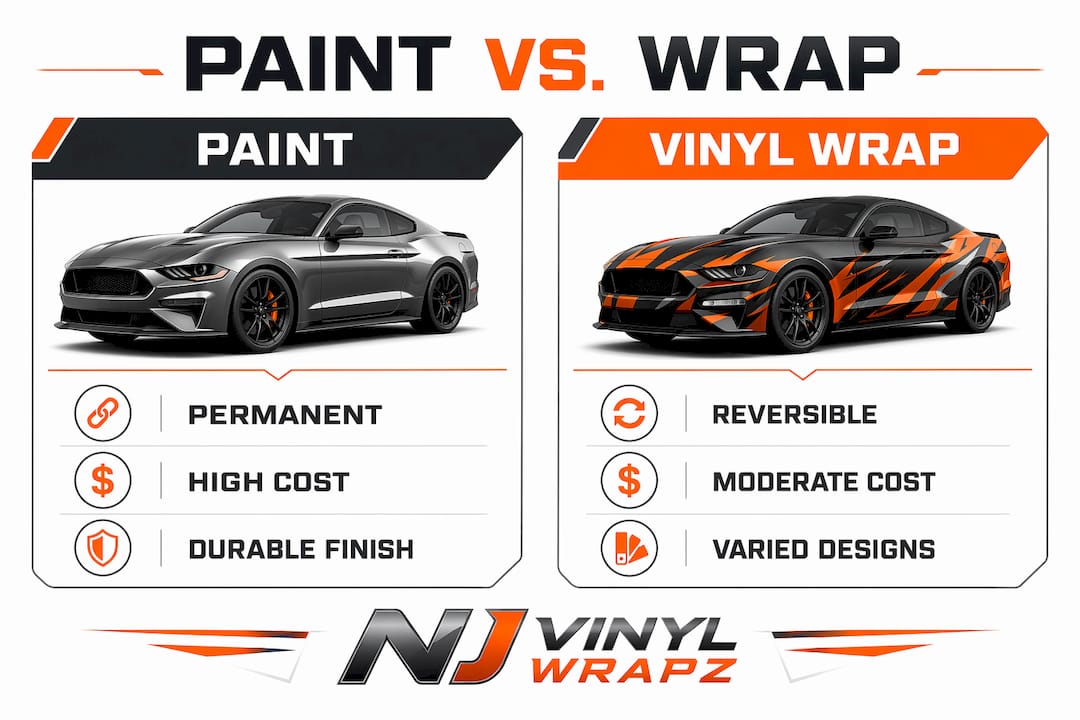
Paint versus vinyl wraps
This is where most enthusiasts face their biggest decision. A professional paint job is permanent, costs several thousand dollars, and requires bodywork prep. A vinyl wrap is reversible, typically costs less, and can be removed without damaging the original finish. The best vehicle wrap techniques include full color-change wraps, partial wraps, and printed graphic wraps, each serving a different purpose. Matte, satin, gloss, chrome, and textured finishes are all achievable with vinyl, giving you options that paint simply cannot replicate at the same price.
Body kits, spoilers, and bolt-on accessories
Front splitters, rear diffusers, and side skirts change the aerodynamic profile and visual weight of a vehicle. Spoilers are available in factory-fit and universal styles. For a simpler upgrade, bolt-on muffler tips cost between $50 and $500 and install in 30 to 60 minutes without welding. That makes them one of the fastest ways to modify car exterior appearance with a noticeable result.
| Modification | Cost Range | Reversible | DIY Friendly |
|---|---|---|---|
| Vinyl wrap (full) | $2,000–$5,000+ | Yes | Partial sections only |
| Paint job (professional) | $3,000–$10,000+ | No | No |
| Wheel swap | $500–$3,000+ | Yes | With proper tools |
| LED lighting upgrade | $50–$400 | Yes | Yes |
| Muffler tip | $50–$500 | Yes | Yes |
Pro Tip: Start with one exterior upgrade at a time. Stacking multiple changes simultaneously makes it harder to evaluate what actually improved the look and what created visual clutter.
How can you refresh your vehicle’s interior appearance easily?
Interior customization is the most beginner-friendly category for upgrading vehicle look. Most products require no tools, no drilling, and no permanent modifications.
- Seat covers: Seat and steering wheel covers cost between $40 and $300 and install in 5 to 10 minutes. That makes them the fastest way to change how your cabin looks and feels. Materials range from neoprene and leatherette to mesh and sheepskin, each offering a different texture and durability profile.
- Floor and cargo mats: Brands like WeatherTech produce custom-fit mats that protect original carpeting while adding a clean, finished look. Vehicle appearance accessories like these serve double duty: they personalize the interior while preserving resale value.
- Dashboard and trim restoration: Faded plastic trim responds well to trim restorer products like Chemical Guys VRP or Meguiar’s Ultimate Black. Apply with a foam applicator, let it absorb, and the difference is immediate. Cracked or scratched trim panels can be replaced with aftermarket pieces or wrapped in vinyl for a custom finish.
- Steering wheel covers: Beyond aesthetics, a quality cover improves grip and reduces heat absorption in summer. Leather-wrapped options from brands like Wheelskins offer a near-OEM feel at a fraction of the cost of a full steering wheel replacement.
Pro Tip: Before buying any interior product, measure your seat dimensions and check fitment guides. Universal-fit covers rarely look as clean as vehicle-specific options, and a poor fit undermines the entire upgrade.
What preparation and tools do you need for a successful project?
Assessing vehicle paint condition for scratches, oxidation, and surface flaws before applying wraps or decals is the step most beginners skip. It is also the step that separates clean results from bubbled, peeling disasters.
Follow this preparation sequence before any exterior modification:
- Wash the vehicle thoroughly using a two-bucket method with a quality wash mitt. Remove all dirt, grease, and road film.
- Clay bar the surface to pull embedded contaminants that washing alone cannot remove. This is non-negotiable before any wrap or decal application.
- Polish if needed using a dual-action polisher like the Rupes LHR15 or FLEX XCE 10-8. Address any swirl marks or light scratches before they get sealed under a wrap.
- Inspect under good lighting. Natural daylight or a dedicated paint inspection light reveals defects that overhead garage lighting hides.
- Document the condition with photos before starting. This protects you if a professional installer later disputes pre-existing damage.
| Tool | Purpose | Estimated Cost |
|---|---|---|
| Clay bar kit | Surface decontamination | $15–$40 |
| Dual-action polisher | Swirl and scratch removal | $100–$300 |
| Heat gun | Vinyl wrap application and conforming | $20–$60 |
| Squeegee and felt edge | Wrap smoothing without scratching | $10–$25 |
| Panel removal tools | Interior trim access | $10–$30 |
Working in a climate-controlled space matters more than most guides acknowledge. Temperature affects how vinyl adheres, how paint cures, and how adhesive products bond. A garage with consistent temperature between 60°F and 80°F is the minimum standard for any wrap or detailing project.
What legal and safety rules apply to vehicle appearance modifications?
Legal compliance is not optional, and the rules vary significantly by state. Ignoring them can result in failed inspections, fines, or mandatory removal of modifications you paid to install.
Key rules to know before modifying:
- Lighting colors: California law prohibits vinyl film that changes headlight or taillight output colors. Headlights must remain white or yellow, and taillights must remain red under California Vehicle Code sections 24400 and 24600. Most other states follow similar standards.
- Headlight and taillight coverage: Tinted overlays that reduce light output below legal minimums are illegal regardless of color. This applies to smoked taillight films as well as colored headlight tints.
- License plate visibility: Any modification that obscures the license plate, including rear spoilers, body kits, or wrap material, violates federal and state visibility requirements.
- Window tint: Tint darkness is regulated by visible light transmission percentages that differ by state and by window position. Front side windows are typically held to stricter standards than rear windows.
Before applying any modification that changes the color, output, or visibility of lights or license plates, verify your state’s specific vehicle code. What is legal in one state may trigger a fix-it ticket in another.
Safety during installation matters equally. Electrical work for lighting upgrades should use properly rated connectors and fuses. Vinyl wrap application near heat sources requires care to avoid burns. Body kit installation that involves drilling into the chassis should be done by someone with structural knowledge of the vehicle.
How do you choose between DIY and professional services?
The right choice depends on the complexity of the modification, your tool access, and your tolerance for imperfect results on a first attempt.
DIY is practical for:
- Seat covers and floor mats
- Muffler tips and bolt-on accessories
- Small vinyl decals and graphics
- LED interior accent lighting
- Dashboard trim restoration
Professional installation is worth the cost for:
- Full vehicle color-change wraps
- Paint protection film (PPF) application
- Complex body kit fitting and alignment
- Full LED headlight conversions requiring wiring
- Any modification affecting structural components
Small vinyl wrap sections are manageable for DIY application with patience and repositioning, but full panels and complex curves require professional skill for flawless results. The Volkswagen Golf GTI cabin wrap documented by Team-BHP is a good example: small trim pieces were achievable by a careful amateur, but the door panels required multiple attempts and still showed minor imperfections.
At the high end of the spectrum, tools like the Bugatti configurator demonstrate how complex professional customization can get, spanning 18 or more sections including paint, interior, and trim. That level of personalization requires factory-level expertise. For most owners, the practical middle ground is DIY for simple bolt-ons and professional services for anything involving paint, full wraps, or structural changes.
Pro Tip: When selecting a professional installer, ask to see completed work in person rather than relying on website photos. Check that the shop uses materials from established brands like 3M or Avery Dennison, and confirm they work in a climate-controlled facility.
A strategic approach combining PPF for long-term protection with vinyl wraps for reversible color changes gives you the best of both worlds. Protect the original paint first, then layer reversible style changes on top.
Key takeaways
Effective vehicle appearance customization starts with surface preparation, follows a logical upgrade sequence, and respects legal limits at every step.
| Point | Details |
|---|---|
| Prep before any application | Clay bar and polish the surface before applying wraps, decals, or protective films. |
| Layer protection before style | Apply PPF first to preserve original paint, then add color-change wraps on top. |
| Match DIY scope to your skill | Reserve full wraps and structural mods for professionals; handle bolt-ons and covers yourself. |
| Verify legal compliance first | Check state lighting and tint laws before purchasing any modification that affects visibility. |
| Interior upgrades deliver fast ROI | Seat covers and floor mats cost under $300, install in minutes, and protect resale value. |
What I’ve learned after years of watching vehicle customization go right and wrong
Most people approach vehicle customization backwards. They start with the most dramatic change they can afford, skip the prep work, and end up with a wrap that bubbles at the edges or a body kit that never quite aligns. The vehicles that look genuinely impressive are almost always the ones where someone spent 80% of their effort on preparation and only 20% on the visible modification itself.
My honest recommendation: start with one affordable mod that you can execute cleanly. A set of quality floor mats, a single vinyl decal, or a set of LED interior lights. Not because these are the most exciting options, but because they teach you how your vehicle responds to modification and build the confidence to tackle larger projects correctly.
The other thing I see consistently undervalued is the protection-first strategy. Owners spend thousands on a color-change wrap and then skip ceramic coating or PPF underneath. When the wrap eventually comes off, the original paint has aged differently under the vinyl than on exposed surfaces, and the resale story gets complicated. Protect first, style second.
Finally, watch the legal side carefully. Lighting modifications and tinted overlays are the most common sources of inspection failures and fix-it tickets. The fleet vehicle customization ideas that hold up over time are the ones built within the rules, not around them. Express your style, but do it in a way that keeps your vehicle road-legal and your investment protected.
— Krunal
Transform your vehicle with Njvinylwrapz
Njvinylwrapz brings over 10 years of professional experience to every vehicle wrap project in New Jersey, working with trusted materials from 3M and Avery Dennison in a climate-controlled installation facility. Whether you want a full vehicle color-change wrap, a partial wrap for targeted impact, or custom graphics and lettering for a fleet, the team handles design, printing, and installation under one roof. Every project is backed by licensed and insured operations, so your vehicle is protected from the first consultation to the final install. Request a quote today and see what a professional wrap can do for your vehicle’s appearance.
FAQ
What is the easiest way to customize a car’s appearance?
Seat covers, steering wheel covers, and floor mats are the easiest starting points. They cost between $40 and $300, require no tools, and install in under 10 minutes.
How long does a full vinyl wrap last?
A professionally installed vinyl wrap using materials from brands like 3M or Avery Dennison typically lasts five to seven years with proper care and regular washing.
Do I need to notify the DMV when I change my car’s color with a wrap?
Requirements vary by state. In California, a color change via vinyl wrap may require DMV notification depending on whether the change is considered permanent. Check your state’s vehicle code before proceeding.
Can I apply a vinyl wrap myself?
Small sections and simple trim pieces are manageable for careful DIYers with a heat gun and squeegee. Full panels and complex curves require professional skill to avoid bubbles, lifting edges, and misaligned seams.
What is the difference between PPF and a vinyl wrap?
Paint protection film (PPF) is a clear urethane layer applied to preserve the original paint from chips and scratches. A vinyl wrap changes the vehicle’s color or finish and is designed for aesthetic customization rather than paint protection. Many owners use both together.